Custom built-in shelving not only enhances the aesthetics of your home but also boosts its functionality by providing tailored storage solutions. Whether you’re looking to declutter your space or display your cherished collections, installing custom shelves can transform any room into a more organized and visually appealing area. This guide, brought to you by BuildNet, your trusted source for local contracting and home service expertise, will take you through every step of creating and installing your own built-in shelving.
Introduction to Custom Built-In Shelving: Boosting Home Aesthetics and Functionality
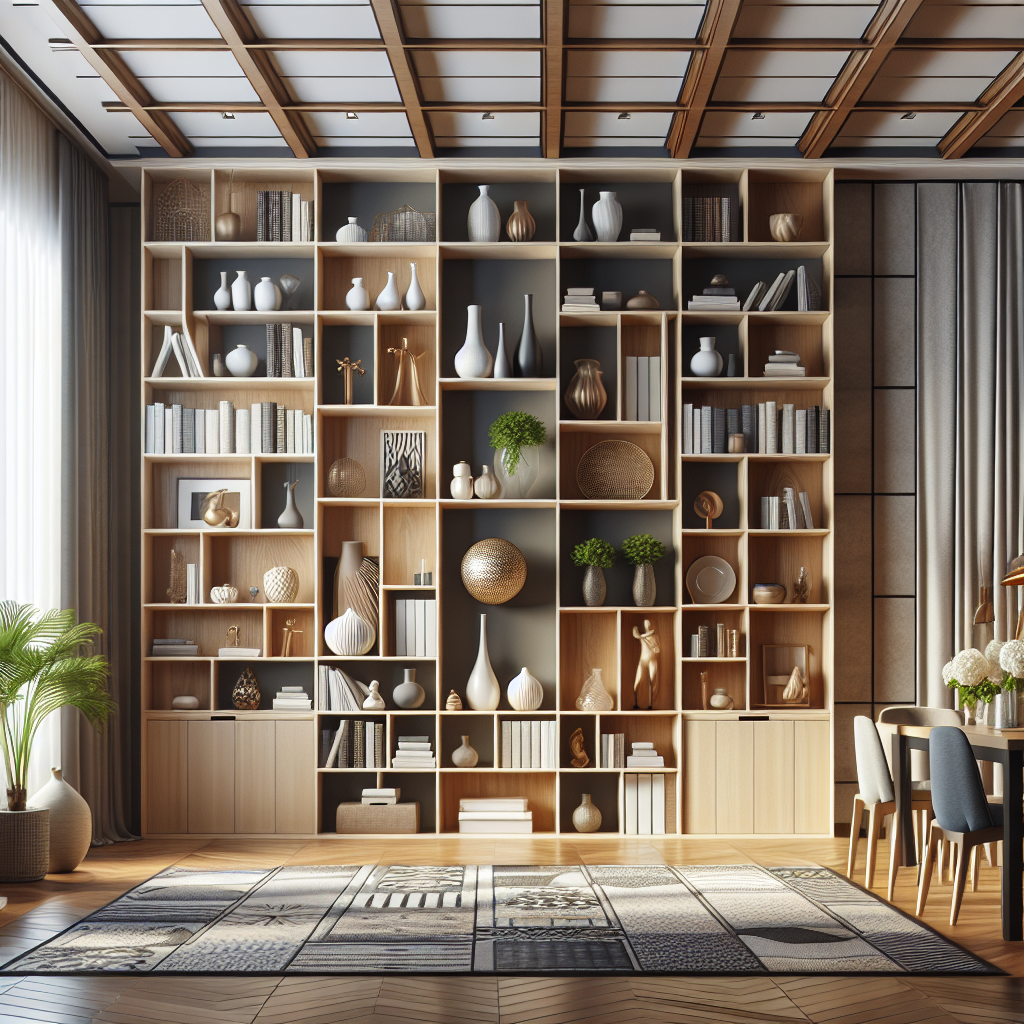
Imagine walking into a room where everything has its place, and every item adds to the overall beauty of the space. That’s the power of custom built-in shelving. It’s not just about having extra places to store your stuff; it’s about creating a harmonious environment where form meets function seamlessly. Whether it’s in the living room, bedroom, or even the garage, built-ins can dramatically increase the usability of every inch of your space while adding to the overall value of your property.
Step-by-Step Guide to Installing Custom Built-In Shelving
Ready to roll up your sleeves and dive into your shelving project? We’ll guide you through the process from planning to the finishing touches, ensuring you have all the knowledge needed to create stunning, functional built-ins. From measuring and cutting, to securing and styling, our comprehensive guide will help you every step of the way.
Choosing the Right Materials and Tools for Your Built-In Shelving Project
Selecting the correct materials and tools is crucial for the success of your shelving project. We’ll discuss the best woods, hardware, and finishes that will ensure durability and aesthetics. Moreover, understanding the tools you’ll need will save you time and help avoid common mistakes. Whether you’re a DIY beginner or a seasoned pro, getting the right supplies is your first step towards a successful project.
With BuildNet’s expertise and your enthusiasm, we’re confident you can enhance your home’s functionality and aesthetics with custom built-in shelving. Let’s get started on this exciting journey to a more organized and stylish home!
If you’re ready to take your home improvement or construction project to the next level, we can help! Find trusted contractors on BuildNet, whether you’re looking for renovations, new builds, electrical work, plumbing, or anything in between. Our directory connects you with qualified professionals who can make your vision a reality.
Introduction to Custom Built-In Shelving: Boosting Home Aesthetics and Functionality
Welcome to the world of custom built-in shelving—a game-changer in the domain of home aesthetics and functionality! If you’re looking to infuse your living spaces with a blend of elegance and practicality, built-in shelving isn’t just an option; it’s the way to go. In this guide, we’ll dive into the myriad of benefits these custom additions can bring to your home, ensuring every nook and corner is not only appealing but also serves a purpose.
Why Choose Custom Built-In Shelving?
Custom built-in shelving units offer much more than just a place to store your books or display your favorite trinkets. They are transformative elements that integrate seamlessly with your home’s architecture, enhancing both the form and function of your living spaces. Here’s why they are a smart choice:
- Maximized Space Utilization: Custom shelving is designed to fit perfectly into your specific space, be it under the stairs, around a doorway, or along an otherwise unusable wall. This customization allows you to use every inch of your home efficiently.
- Enhanced Home Value: Built-ins are a coveted feature for many homebuyers. They add a touch of luxury and convenience that can significantly boost your home’s market value.
- Cohesive Aesthetics: Unlike freestanding units that can look out of place, built-ins are made to match your home’s existing style and architecture, creating a cohesive and harmonious look.
- Clutter-Free Environment: With storage space tucked neatly into walls, built-in shelving helps minimize clutter, giving your rooms a cleaner, more organized appearance.
Where to Install Built-In Shelving?
One of the beauties of built-in shelving is its versatility. Here are a few spaces in your home where built-ins can truly shine:
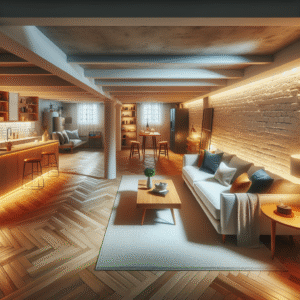
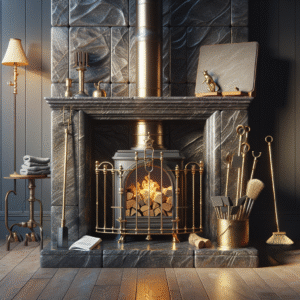
- The Living Room: Surround your fireplace with custom shelving to create a cozy reading nook or a stylish display for art and photos.
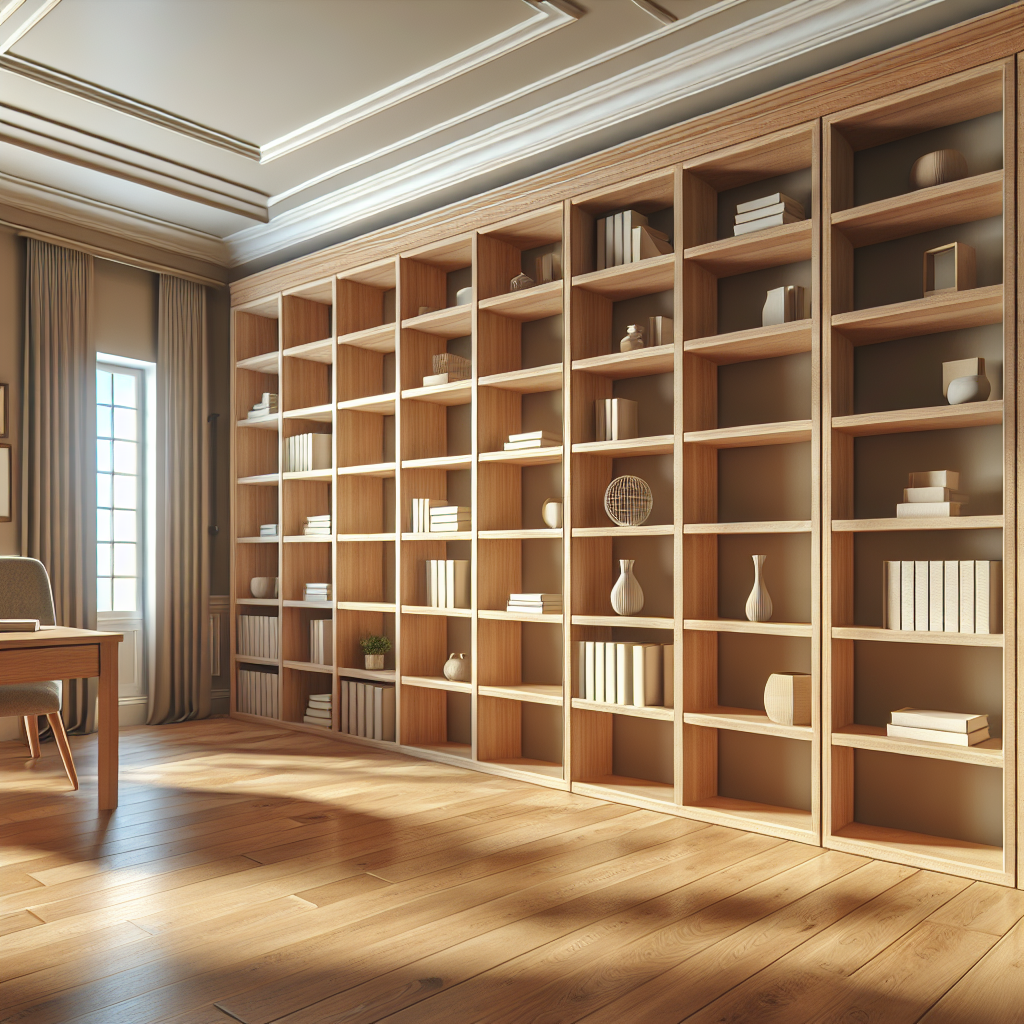
- The Home Office: Boost productivity with shelving that holds all your books, documents, and technology neatly.
- The Kitchen: Turn open wall spaces into storage havens for your spices, cookbooks, and decorative plates.
- The Bedroom: Consider a custom headboard with built-in shelves for your nighttime reads and essentials.
Customization Ideas to Enhance Your Décor
When it comes to custom built-in shelving, the design possibilities are endless. Here are some creative ideas to get you started:
- Accent Lighting: Incorporate LED strip lights or puck lights within shelves to highlight your displayed items and add a warm ambiance to the room.
- Glass Doors: Add glass doors to your shelving units to turn them into elegant display cabinets that keep dust away from your valuables.
- Adjustable Shelving: Opt for adjustable shelves to provide flexibility. This way, you can rearrange the shelving to accommodate items of various sizes as your storage needs change.
- Decorative Backing: Use a decorative back panel, like patterned wallpaper or a bold paint color, to add a pop of interest and contrast to your shelving.
The Impact of Material Choice
The materials you choose for your built-in shelving not only affect its durability but also its appearance and the overall vibe of the room. Popular materials include:
- Wood: Wood shelving offers a classic look and can be painted or stained to match any décor. It’s versatile and warm, ideal for spaces like living rooms and bedrooms.
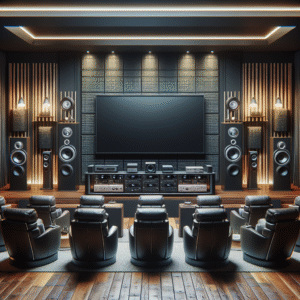
- Metal: For a more modern or industrial aesthetic, metal shelving can be a stunning choice. It’s also incredibly durable and perfect for heavy-duty storage.
- Laminate: If you’re on a budget, laminate shelves are cost-effective and come in a variety of finishes and colors.
Local Craftsmanship and Sustainability
Engaging with local craftsmen for your custom shelving project not only supports the local economy but also gives you the chance to source sustainable materials. Many local artisans work with reclaimed wood or other recycled materials, adding a layer of eco-friendliness to your custom project. Additionally, sourcing locally can reduce the carbon footprint associated with transporting materials from far away, making your home improvement project more environmentally friendly.
Conclusion
Custom built-in shelving is more than just a practical storage solution—it’s a style statement that can significantly enhance the aesthetics and functionality of your home. By choosing the right materials, designs, and local craftsmen, you can create a space that is uniquely yours, all while adding value and charm to your property. So why wait? Start planning your built-in shelving project today and transform your home into the organized, stylish haven you’ve always dreamed of!
Step-by-Step Guide to Installing Custom Built-In Shelving
Welcome to our DIY guide on installing custom built-in shelving! Whether you’re aiming to enhance your living room aesthetics or increase the storage efficiency in your home office, built-in shelves are a fantastic solution. Now, let’s walk through the process step by step, ensuring you can tackle this project with confidence and ease. Get ready to transform an ordinary wall into a stunning showcase of functionality and style!
Step 1: Design and Planning
Before you dive into cutting wood or drilling holes, the first step is crucial: planning. Measure the space where you want to install your shelving. Consider the height, width, and depth that best fits your needs and the room’s layout. Tip: Use painter’s tape to outline the dimensions on your wall—it helps visualize the project better!
- Sketch your design: Whether you prefer simple, straight lines or more elaborate designs, sketching helps you pinpoint the look you’re going for.
- Account for load: Plan according to what you will store on these shelves. Books need sturdier shelves compared to knick-knacks or decor items.
Step 2: Gathering Your Materials and Tools
Choosing the right materials and tools is pivotal for the success of your project. For most built-in shelving projects, you’ll need:
- Materials: Plywood or MDF (Medium Density Fiberboard), wood screws, wood glue, sandpaper, paint or wood stain.
- Tools: Tape measure, level, stud finder, drill, saw (hand saw or circular saw), clamps, paintbrushes.
Local hardware stores often provide cutting services, which can be handy if you’re not comfortable cutting large sheets of wood yourself.
Step 3: Preparing the Area
Preparation is key to ensuring a clean and safe work environment:
- Clear the space: Remove furniture or any wall decorations from the area.
- Protect your floors: Lay down a drop cloth or old sheets to protect your flooring from dust and paint.
Step 4: Cutting and Assembling the Shelving
With your materials and design in mind, it’s time to start the actual building process:
- Cut your wood: Following your measurements, cut the wood to fit the designated space. Always double-check measurements before cutting.
- Assemble the frame: Using wood screws and glue, assemble your shelf frames. Clamps can be helpful to hold pieces together as you work.
Note: If your design is complex, consider assembling the shelf units completely on the floor before installing them onto the wall.
Step 5: Mounting the Shelving
This is where your project really starts to take shape. Mounting your shelves securely is crucial:
- Locate wall studs: Use a stud finder to locate the studs in your wall. This is where you will anchor your shelving to ensure stability.
- Secure the frame: Align your shelving unit with the marked studs. Drill and screw the frame into the studs. Make sure it’s perfectly level.
Extra tip: For heavier loads, consider using additional mounting brackets or support strips under each shelf.
Step 6: Finishing Touches
The bulk of your installation work is done, but a few finishing touches can make your new built-in shelving look seamless and professional:
- Sand and paint: Sand any rough edges to get a smooth finish. Then, paint or stain your shelving in the color or finish of your choice. Let it dry completely.
- Add trim or molding: For a built-in look, add trim or molding around the unit, securing it with small nails or wood glue.
Remember, custom built-in shelving not only serves as practical storage but also adds a significant aesthetic value to your home. By following this step-by-step guide, you’re well on your way to creating beautiful, functional spaces in your home. Whether you’re storing books, displaying collectibles, or organizing office supplies, your new built-in shelves are sure to enhance both the form and functionality of your living space. Happy building!
Choosing the Right Materials and Tools for Your Built-In Shelving Project
Hey there! So, you’ve decided to enhance your space with some custom built-in shelving? Fantastic choice! Not only do built-ins add a touch of personality and elegance, but they’re also a super practical solution for storage and display. But before you dive into the sawdust and paint, let’s chat about one of the most crucial steps: selecting the right materials and tools for the job. This can make or break your project, so buckle up as we guide you through this essential phase.
Understanding the Basics: Materials Matter
First things first, picking the right materials is paramount for ensuring your shelving isn’t just visually appealing but also durable and functional. Here are some popular options:
- Plywood: A favorite for its versatility and cost-effectiveness. It’s great for painting and can hold up well under weight.
- MDF (Medium Density Fiberboard): Perfect for a smooth finish when painted, and it won’t warp as easily as real wood. Ideal for indoor environments.
- Solid Wood: Go classic with choices like oak, maple, or walnut for a timeless look and feel. More expensive, but it’s hard to beat the durability and grain beauty of natural wood.
- Metal: Seeking a modern industrial vibe? Metal can be an excellent choice for a sleek, contemporary look, and it’s super sturdy.
When you’re out shopping for materials, keep in mind the overall aesthetic of your room, the weight the shelves will need to support, and how much maintenance you’re willing to do. Also, consider sourcing materials from local suppliers to help reduce your environmental impact and support local businesses, which is always a win-win!
Tool Time: What You’ll Need
Equally important as your materials is having the right tools to get the job done. Whether you are a DIY newbie or a seasoned pro, having the right tools will make your project smoother and safer. Here’s a basic toolkit for installing built-in shelving:
- Measuring Tape & Level: Essential for ensuring your shelves are perfectly sized and level.
- Circular Saw or Table Saw: For making clean, straight cuts through your chosen material. A table saw is ideal for larger projects.
- Drill: You’ll need this for making guide holes for screws or dowels.
- Screwdriver: For, well, driving screws. An electric screwdriver can speed things up.
- Sander: Smooth out those edges and surfaces, making them ready for finishing touches like paint or varnish.
- Stud Finder: This is crucial for locating studs in your wall to securely anchor your shelves.
- Paintbrushes or Rollers: For applying finishes if you’re going the painted route.
Don’t forget safety gear as well! Always have protective eyewear, gloves, and ear protection handy to safeguard yourself during the project.
Choosing the Perfect Finish
Now that you’ve got your materials and tools laid out, it’s time to think about the finish. This is where you can really personalize your built-in shelving and make them blend in or stand out in your space. Here are a few finishing ideas:
- Paint: A coat or two of paint can transform your shelves to match your decor. Use a primer suitable for your material for the best outcome.
- Stain: If you’re using solid wood, a beautiful stain can enhance the natural grain and add warmth and richness.
- Varnish or Sealant: Especially if the shelves will be exposed to moisture (like in bathrooms), a good sealant can protect your material from warping or water damage.
Pro Tip: Always test your finish on a small, inconspicuous area of your shelving material to make sure you’re happy with the appearance before committing to the entire project.
Final Thoughts on Materials and Tools
Remember, the longevity and success of your built-in shelving project largely depend on the choices you make in this phase. Take your time to research, compare, and, most importantly, align your materials and tools with the vision you have for your space. It’s these decisions that will help turn that vision into a reality that you’ll appreciate every day. Happy building!

Frequently Asked Questions on Custom Built-In Shelving
What are the benefits of installing custom built-in shelving in my home?
Custom built-in shelving not only enhances the aesthetic appeal of your home but also increases functionality. These shelves are tailored to fit specific spaces in your home, maximizing storage and seamlessly integrating into your interior design. They can also increase your property value, as they are a coveted feature for many home buyers.
How do I start planning my custom built-in shelving project?
Begin by assessing your needs and the space available. Consider what you’ll be storing on these shelves and the weight they need to support. Decide on a style that complements your room’s decor. Taking precise measurements of your space is crucial for ensuring the perfect fit. It’s often helpful to sketch your vision or use design software to visualize the end result.
What materials are best for built-in shelving?
The choice of materials can vary based on budget, style, and durability needs. Common materials include wood (like plywood or solid hardwood), MDF for paint-grade projects, and metal for a more industrial look. Each material has its pros and cons, so consider what fits best with your room’s conditions and usage.
What tools will I need to install custom built-in shelving?
The basic tools for a shelving project include a measuring tape, a level, a drill, screws, a stud finder, and possibly a saw if you need to cut any materials to size. For more complex installations, additional tools such as a nail gun or a router might be necessary.
Can I install custom built-in shelving myself?
DIY installation is possible, especially for those with some handyman skills. However, for more complex projects, especially those that require precise carpentry skills or involve electrical components (like integrated lighting), hiring a professional might be a better choice.
How do I maintain my built-in shelving?
Maintenance largely depends on the material used. Generally, regular dusting and occasional cleaning with appropriate cleaners for your material will suffice. For wooden shelves, you may need to reapply finish or paint every few years to keep them looking fresh.
Are there any common mistakes to avoid when installing built-in shelving?
One common mistake is failing to secure the shelving adequately, which can lead to stability issues. Always ensure your shelves are properly anchored into wall studs. Misjudging the weight capacity of the shelves is another error; overloading your shelves can cause damage to both the shelf and the items displayed.
How do I ensure my shelving complements my home’s style?
Consider the existing decor themes in your home. Choose materials and finishes that harmonize with your other furnishings. Consistency in style, color, and material helps to unify your space and enhance overall cohesion.
How long does it take to install custom built-in shelving?
The time frame can vary widely depending on the project’s complexity and the speed of your work. Simple installations might take a weekend, while more involved projects could take several weeks, particularly if you need to wait for custom materials or hire professionals.
Where can I find a reliable contractor for my shelving project?
For those looking to ensure a professionally finished look, or if the project is complex, finding a reliable contractor is key. BuildNet, a global local contracting and home service directory, offers a comprehensive list of experienced contractors. You can easily browse potential hires and request a free quote for your project!
Conclusion
Custom built-in shelving is an excellent way to add both charm and functionality to your home. Whether you’re looking to display treasured keepsakes, organize your space, or just want to enhance your decor, built-ins can be a perfect solution. Remember, while DIY projects can be fun and rewarding, professional installation ensures durability and a polished look. Don’t hesitate to visit BuildNet, where you can connect with skilled contractors who are more than happy to help bring your vision to life. Reach out today for a free quote and take the first step towards transforming your space!