If you’re looking to enhance your home’s energy efficiency, starting with attic insulation is a smart move. Attic insulation not only helps in maintaining a comfortable temperature throughout your home but also significantly reduces heating and cooling costs. In this comprehensive guide, we’ll explore the various types of insulation and their benefits, provide a detailed step-by-step guide for installing attic insulation, and highlight common mistakes to avoid during the installation process.
Understanding the Basics of Attic Insulation: Types and Benefits
Attic insulation comes in several forms, each with its own set of advantages. The most common types include fiberglass, cellulose, and foam. Fiberglass, made from fine glass fibers, is popular due to its non-flammable properties and ease of installation. Cellulose, derived from recycled paper that is treated for fire resistance, provides excellent thermal performance. Foam insulation, including spray foam, offers high R-values and effective air sealing, which can be crucial in preventing heat loss.
Investing in proper attic insulation brings myriad benefits, including:
- Lower Energy Bills: Effective insulation keeps your home warmer in the winter and cooler in the summer, reducing the need for heating and cooling.
- Increased Comfort: Insulation eliminates drafts and cold spots, offering a more comfortable living environment.
- Reduced Carbon Footprint: By using less energy for heating and cooling, you’re contributing to a reduction in greenhouse gas emissions.
Step-by-Step Guide to Insulating Your Attic for Maximum Energy Efficiency
Whether you’re tackling this as a DIY project or planning to hire a professional, understanding the process can help you ensure it’s done correctly. Our guide will cover everything from choosing the right insulation type to the final touches that ensure effectiveness.
Common Mistakes to Avoid When Insulating Your Attic
To help you get the most out of your insulation, we’ll also address typical pitfalls many homeowners encounter. This will include issues like inadequate ventilation, ignoring air leaks, and choosing the wrong insulation material for your specific needs.
By following the advice in this article, you can make informed decisions that lead to significant energy savings and improved home comfort. Stay tuned as we delve deeper into each topic, providing you with all the knowledge you need to successfully insulate your attic.

If you’re ready to take your home improvement or construction project to the next level, we can help! Find trusted contractors on BuildNet, whether you’re looking for renovations, new builds, electrical work, plumbing, or anything in between. Our directory connects you with qualified professionals who can make your vision a reality.
Understanding the Basics of Attic Insulation: Types and Benefits
Hey there! If you’re looking to boost your home’s energy efficiency and comfort, starting with your attic is a smart move. Attic insulation is like putting a warm hat on your house during those cold months and providing a cool barrier during hot summers. Not only does it help in maintaining a comfortable indoor environment, but it also significantly reduces energy bills. Let’s dive into the different types of attic insulation and explore their benefits, so you can make an informed decision that suits your home and climate.
Types of Attic Insulation
Choosing the right type of insulation for your attic can feel overwhelming with all the options available. Each type has its pros and cons, but they all aim to reduce heat transfer, keeping your home snug or chilled, depending on the season. Here’s a breakdown:
Fiberglass Insulation
- Material: Consists of fine glass fibers.
- Format: Comes in batts or rolls and loose-fill.
- Pros: Non-flammable, resistant to moisture damage, and relatively easy to install.
- Cons: Can irritate the skin and lungs during installation, so protective wear is necessary.
Cellulose Insulation
- Material: Made from recycled paper products, primarily newsprint.
- Format: Generally installed as loose-fill.
- Pros: Eco-friendly, excellent for blocking air leaks, and has a higher R-value per inch than fiberglass.
- Cons: Can settle over time, potentially decreasing its effectiveness unless properly installed.
Foam Insulation
- Material: Includes spray foam (open-cell or closed-cell) and rigid foam boards.
- Format: Spray application or firm boards.
- Pros: Provides an air seal, high R-value per inch, and adds structural strength to some extent.
- Cons: Generally more expensive, professional installation recommended.
Reflective or Radiant Barrier Insulation
- Material: Made from reflective materials, often aluminum foil.
- Format: Foil sheets typically installed on the attic ceiling.
- Pros: Very effective at reflecting heat away from the home, ideal for hot climates.
- Cons: Less effective in colder climates, primarily reduces incoming heat rather than insulating against heat loss.
Benefits of Attic Insulation
Now that we’ve covered the types, let’s talk about why attic insulation is essential:
Energy Efficiency
One of the most praised benefits of proper attic insulation is the potential for energy savings. By reducing the heat exchange between your home and the outside environment, your HVAC system doesn’t have to work as hard. This not only lowers your energy bills but also extends the lifespan of your heating and cooling systems.
Comfort
Ever noticed how some rooms are too hot in summer and too cold in winter? Well, poor attic insulation could be the culprit. By insulating your attic, you can maintain a more consistent temperature throughout your home, enhancing overall comfort.
Moisture Control
When it’s colder outside and cozy inside, condensation can occur, leading to moisture problems. Proper insulation helps minimize condensation, which can prevent mold growth and wood rot in your attic structures.
Increased Home Value
If you’re thinking about selling your home, attic insulation is a great feature to boast about. It’s an investment that tells potential buyers they can look forward to lower utility bills and better home comfort—major selling points!
Environmental Impact
Reduced energy consumption isn’t just good for your wallet; it’s also good for the planet. By using less energy to heat and cool your home, you’re contributing to reduced greenhouse gas emissions, making attic insulation a responsible environmental choice.
Choosing and installing the right attic insulation can be a game changer for your home’s comfort and your energy bills. Whether you’re in a snowy mountain town or a sunny beach area, there’s an insulation option that’s right for your locale. If you’re not sure where to start, local contractors specialized in home insulation can offer personalized advice based on your specific needs and regional climate. Remember, a well-insulated attic is a step toward a more energy-efficient and comfortable home!
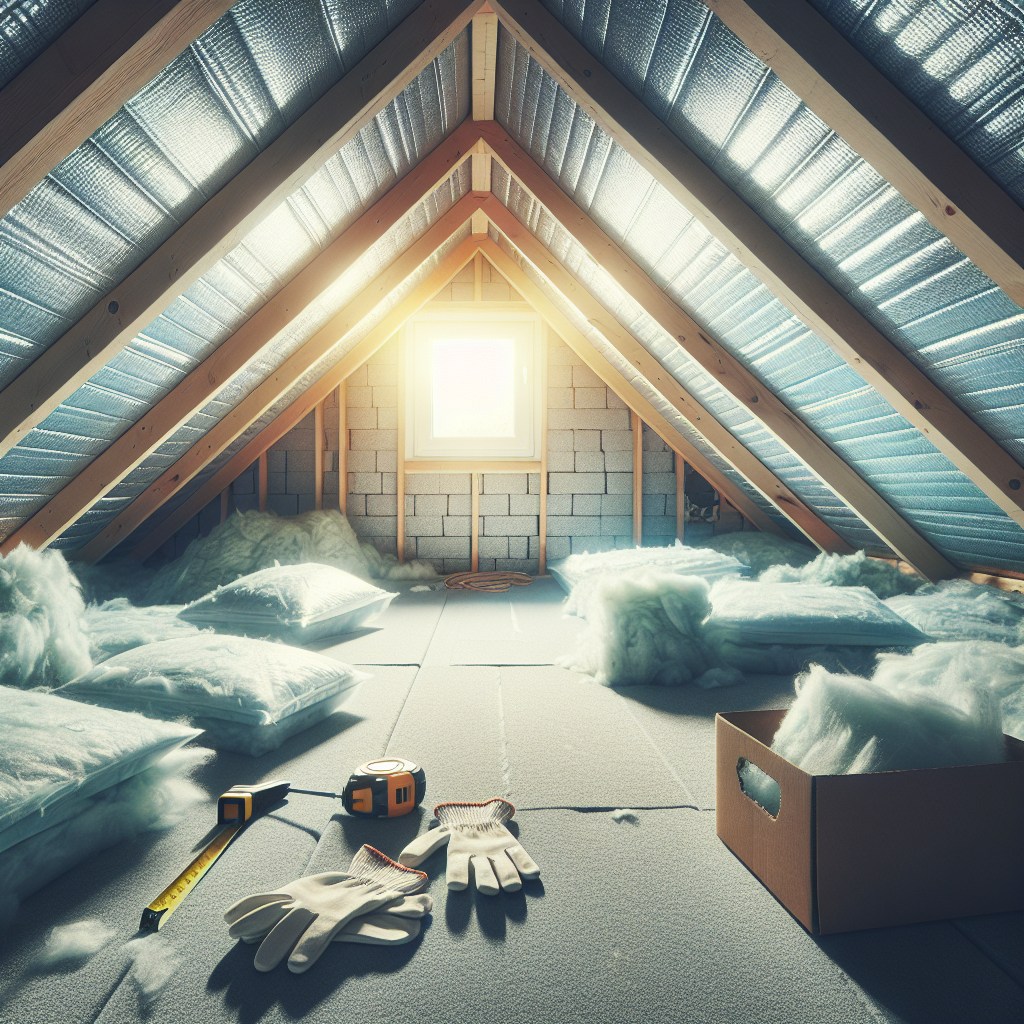
Step-by-Step Guide to Insulating Your Attic for Maximum Energy Efficiency
Hey there, savvy homeowner! Ready to tackle your attic and transform it into a champion of energy efficiency? You’re in the right place. Insulating your attic might seem daunting, but with this friendly step-by-step guide, you’ll be boosting your home’s comfort and slashing those energy bills in no time. Let’s roll up our sleeves and dive in!
Step 1: Choose the Right Insulation Material
First things first, picking the perfect insulation is crucial. Depending on where you live, whether it’s the chilly peaks of Colorado or the sunny shores of California, the choice might vary. Here’s a quick rundown:
- Fiberglass Batts: Easy to install and a common choice for DIYers.
- Cellulose: Great for blowing into difficult-to-reach spaces and has excellent thermal performance.
- Foam Board: Offers high insulation value with less thickness but requires more precise installation.
Local stores often stock the best options tailored to your region’s climate, so take advantage of this localization to get the most suitable material.
Step 2: Prepare Your Attic
Before you start, clear out your attic. This might be a good moment to declutter and donate items you no longer need. Once cleared, give it a good sweep. Look for any signs of moisture or pest infestation. These issues need to be addressed before adding new insulation as they can compromise its effectiveness.
Step 3: Seal Air Leaks
Grab a tube of caulk and a can of spray foam and hunt down those air leaks. Common culprits include:
- Areas around attic hatches
- Where wiring and pipes penetrate the attic floor
- Joint gaps in framing
Sealing these leaks prevents warm or cool air from escaping, ensuring your insulation works like a charm.
Step 4: Install Rafter Vents
If your attic isn’t already equipped with rafter vents, now’s the time to install them. These vents prevent any blockages between the eaves and the attic, maintaining a clear path for outside air to flow under the roof and out the attic space, effectively managing temperature and moisture.
Step 5: Roll Out the Insulation
It’s time to roll! If you’re using batts or rolls, start from the outer edge of the attic and work your way to the center. Ensure the insulation is snug between the joists and doesn’t compress as it can reduce its insulating power. If you’re using loose-fill insulation, renting a machine that blows the insulation might be your best bet.
For those in colder climates, don’t forget to check your local building codes for recommended insulation levels to ensure optimum thermal resistance.
Step 6: Layer Up
If one layer just doesn’t cut it, add more. For batts, lay the second layer perpendicular to the joists. This helps cover any gaps in the joists and boosts insulation power. With loose-fill, keep adding until you reach the recommended depth.
Step 7: Insulate the Attic Hatch
An often-overlooked step is insulating the attic hatch. Use adhesive to attach fiberglass batts to the top of the hatch and add weatherstripping around the edges to seal air leaks. This ensures you don’t lose precious heat through the hatch.
Step 8: Check Your Ventilation
Post-insulation, ensure your attic is still well ventilated. Proper ventilation helps prevent moisture buildup and reduces the risk of mold. If you’re unsure, consulting with a local expert can provide tailored advice for your specific attic needs.
There you have it! A well-insulated attic not only contributes to a more energy-efficient and comfortable home but also prolongs the integrity of your roof and framing structures by managing temperature and humidity levels. Whether you’re in sunny Florida or snowy Maine, the right insulation setup can make a massive difference. Remember, each home is unique, so consider consulting with a local professional to tailor these steps to your specific situation and local building codes.
Good luck, and here’s to a cozier, more energy-efficient home!
Common Mistakes to Avoid When Insulating Your Attic
Hey there! Planning to tackle attic insulation yourself? That’s a great decision to help reduce energy bills and enhance the comfort of your home. However, before you dive in, it’s crucial to steer clear of a few common pitfalls. Let’s walk through some typical blunders homeowners make when insulating their attics. Avoiding these will not only save you time and money but also ensure your insulation is effective and durable. Ready? Let’s get started!
1. Skipping the Air Sealing Step
One major misstep is overlooking air sealing. Insulation is fantastic for controlling temperature, but without proper air sealing, air will still find its way in and out. This can undermine your insulation efforts. Make sure to seal all cracks, gaps, and openings before laying down any insulation. Use caulk and foam sealants to get the job done right. This not only boosts efficiency but also prevents moisture problems.
2. Choosing the Wrong Type of Insulation
Not all insulation materials are created equal, and using the wrong type can be a costly error. The choice depends on your climate, the structure of your home, and specific attic needs. For example, while fiberglass batts are popular, they might not be the best option if your attic has lots of nooks and crannies. Loose-fill or spray foam might provide better coverage. Always research or consult a professional to find the most suitable insulation type for your situation.
3. Inadequate Insulation Thickness
Going too thin? That’s a no-no. Insulation’s effectiveness is measured by its R-value, which indicates its resistance to heat flow. Different zones require different R-values for optimal efficiency. Ensure you’re hitting the recommended R-value for your area. Skimping on this can lead to subpar insulation performance, making all your efforts somewhat futile.
4. Blocking Soffit Vents
Proper attic ventilation is essential to prevent moisture accumulation and regulate temperature. A common mistake is blocking soffit vents with insulation, which can lead to moisture problems and reduce the lifespan of your roof. Always use baffles to keep the air flowing correctly through these vents. This is particularly important in climates with high humidity or extreme temperatures.
5. Not Protecting Yourself or Your Home
Insulation materials can be hazardous to your health. Always wear the right safety gear – gloves, a mask, and goggles are a must. Additionally, some types of insulation can settle or degrade over time, potentially releasing particles into your home. Lay down protective sheeting in your attic and keep the area well-ventilated to minimize health risks.
6. Uneven Application
Applying insulation unevenly can lead to hot or cold spots in your home, which defeats the purpose of insulating in the first place. Make sure to spread the insulation evenly across the attic floor, and be meticulous around corners, edges, and rafters. It’s all in the details!
7. Ignoring Moisture Control
Moisture is the enemy of effective insulation. Ignoring moisture control can lead to mold growth and insulation damage. When insulating, consider adding a vapor barrier or retarder to prevent moisture buildup, especially if you live in a wet climate. Check the attic regularly for any signs of moisture and address leaks promptly.
8. DIYing When You Should Hire a Pro
While it’s empowering to handle home improvements yourself, some tasks might be better left to the professionals, especially if your attic has complex structural issues or if you’re unfamiliar with the ins and outs of attic insulation. Professional installers can ensure that the insulation is applied correctly and safely, providing the best results for your home.
Remember, attic insulation is a fantastic way to enhance your home’s energy efficiency and comfort. Avoid these common mistakes, and you’re on your way to a well-insulated space that saves energy and money in the long run. Whether you’re in New York, Los Angeles, or anywhere in between, proper attic insulation can make a significant difference in your living environment. So, roll up your sleeves, do your homework, and get ready to upgrade your attic like a pro!
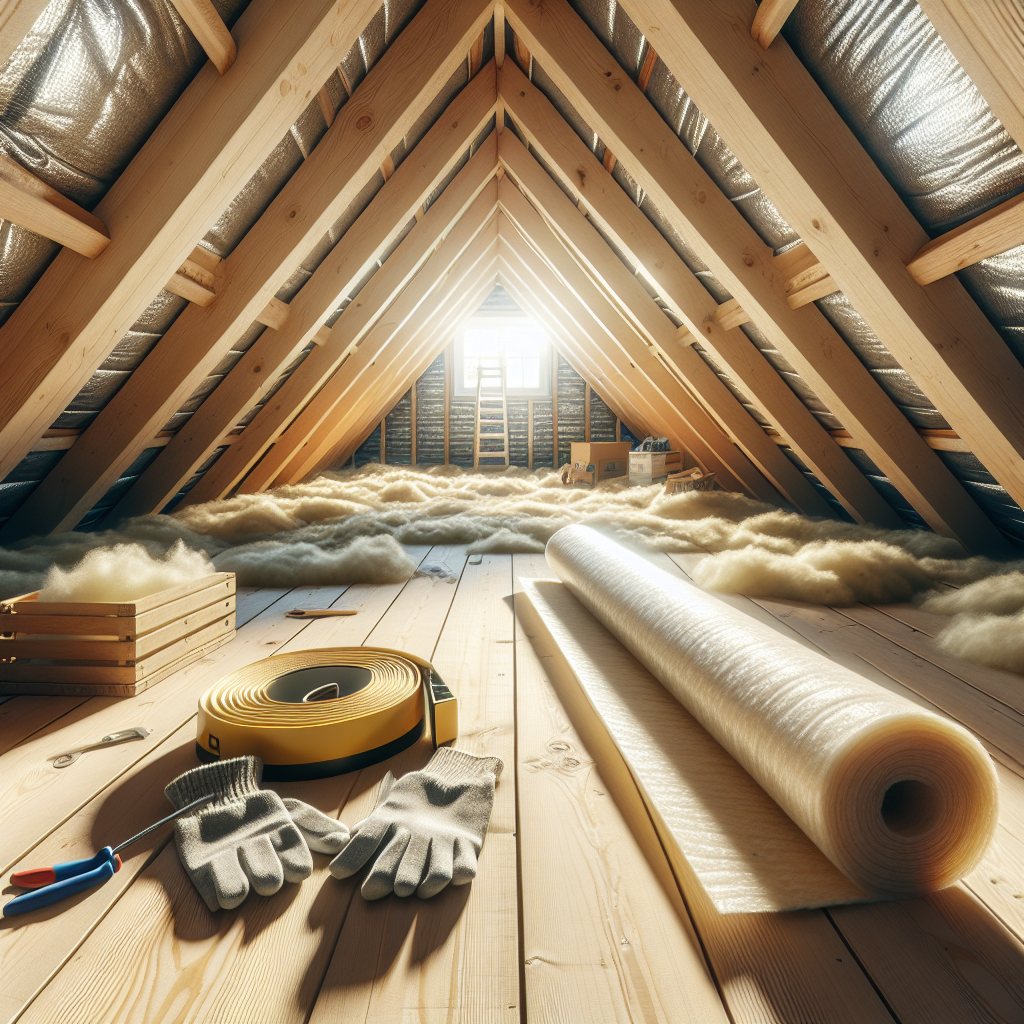
What are the different types of attic insulation?
There are several types of attic insulation, each with its own benefits and best applications. Common types include:
- Fiberglass Batts: Easy to install and cost-effective, ideal for attics with standard joist spacing.
- Cellulose: Made from recycled paper products, it offers excellent thermal performance and is eco-friendly.
- Spray Foam: Provides both an air seal and insulation, perfect for reducing air leaks and improving energy efficiency.
- Rigid Foam Boards: Great for covering large areas quickly, but can be more expensive.
- Reflective or Radiant Barrier: Ideal for hot climates, reflecting heat away from the home.
What are the benefits of attic insulation?
Proper attic insulation offers numerous benefits such as:
- Energy Efficiency: Keeps your home warmer in winter and cooler in summer, reducing heating and cooling costs.
- Comfort: Improves overall comfort by maintaining consistent indoor temperatures.
- Moisture Control: Helps prevent moisture build-up which can lead to mold and mildew problems.
- Increased Home Value: Energy-efficient homes can attract higher market values and quicker sales.
How do I choose the right type of insulation for my attic?
Choosing the right insulation depends on several factors including your climate, budget, and the current state of your attic. Consider:
- Climate: Hotter climates may benefit from reflective insulation, while colder areas might need thicker fiberglass or spray foam.
- Existing Insulation: Assess whether additional insulation can be added to existing material or if a replacement is necessary.
- Accessibility and Space: Tight spaces may require more flexible insulation options like spray foam.
How do I prepare my attic for insulation?
Preparing your attic is crucial for effective insulation. Steps include:
- Cleaning: Remove any old insulation, debris, and dust.
- Sealing Air Leaks: Use caulk or foam to seal gaps around pipes, ducts, and light fixtures.
- Installing Ventilation: Ensure your attic has proper airflow with vents or fans, which helps prevent moisture problems.
What common mistakes should I avoid when insulating my attic?
Avoid these frequent errors to ensure your attic insulation is effective:
- Ignoring Air Leaks: Not sealing leaks can undermine insulation effectiveness.
- Blocking Vents: Insulation should not cover soffit vents, as this can cause moisture issues and roof damage.
- Compressing Material: Overpacking batts can reduce their insulative properties.
- Not Wearing Protective Gear: Always use masks, gloves, and goggles during installation to avoid irritation from insulation materials.
Can I install attic insulation myself or should I hire a professional?
While DIY attic insulation is possible, hiring a professional is advisable for several reasons:
- Expertise: Professionals can assess and execute the best insulation strategy for your home.
- Safety: They have the proper equipment and knowledge to safely handle materials.
- Efficiency: Experienced contractors can complete the job quickly and effectively, ensuring optimal performance.
If you’re considering upgrading your attic insulation but aren’t sure where to start, why not contact a licensed contractor on the BuildNet website for a free quote? Professional advice can help you make the best decisions for your home’s needs and budget.
Conclusion
Attic insulation is a powerful tool in enhancing your home’s energy efficiency and comfort. Understanding the different types of insulation and their respective benefits allows you to make informed decisions that suit your specific needs. Whether you choose to go the DIY route or hire a professional, the key to successful attic insulation lies in proper installation and avoiding common pitfalls.
Remember, incorrect insulation can lead to increased energy bills, discomfort, and even structural issues in your home. It’s crucial to get it right the first time, and sometimes that means calling in the experts. Don’t hesitate to reach out to a local contractor via BuildNet for a free quote on your insulation project. They can provide personalized advice and service, ensuring your home remains cozy, comfortable, and cost-effective year-round. Get your project started today and enjoy the benefits of a well-insulated home!

