If you’re contemplating adding a garden shed to your backyard, you’re embarking on a project that not only boosts your property’s functionality but also its appeal. Whether you’re aiming to store garden tools, create a workshop, or simply carve out a personal retreat, the key to a successful shed starts with choosing the right location and size. This guide will walk you through selecting the perfect spot, gathering essential materials, and the step-by-step process of constructing your own garden shed. Tailored for DIY enthusiasts, this article is your go-to resource for turning your garden shed plans into reality.
Choosing the Right Location and Size for Your Garden Shed
Selecting the perfect location for your garden shed involves considering several factors like sunlight, ground level, and proximity to your house. The size of the shed largely depends on what you intend to use it for and the space available in your garden. Here, we’ll explore how to make these decisions effectively.
Essential Materials and Tools for Building a Garden Shed
Building a sturdy garden shed requires the right materials and tools. From choosing quality timber to selecting durable roofing materials, we will cover all that you need. Additionally, we’ll provide a checklist of tools that will help make the building process smoother and more efficient.
Step-by-Step Construction Process for a DIY Garden Shed
The construction of a garden shed can be a fulfilling project. We’ll guide you through each step, from laying the foundation to installing the roof, ensuring you can follow along regardless of your previous DIY experience.
With a proper plan and the right tools, building a garden shed can be a straightforward and enjoyable project. This guide will not only help you construct a functional space but also enhance the overall look of your garden. So, let’s get started on creating a space that is both practical and aesthetically pleasing!
If you’re ready to take your home improvement or construction project to the next level, we can help! Find trusted contractors on BuildNet, whether you’re looking for renovations, new builds, electrical work, plumbing, or anything in between. Our directory connects you with qualified professionals who can make your vision a reality.
Choosing the Right Location and Size for Your Garden Shed
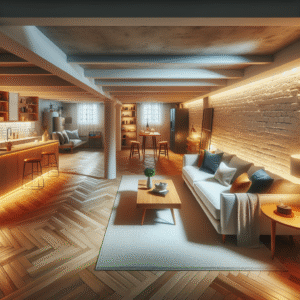
So, you’ve decided to add a garden shed to your outdoor space—congratulations! A shed isn’t just a practical storage solution; it can also enhance the aesthetic appeal of your garden and even increase the value of your property. But before you get caught up in choosing colors and styles, let’s talk about the very first steps in the process: selecting the perfect location and determining the right size for your new garden shed.
Finding the Ideal Spot
Choosing where to place your shed is crucial not only for usability but also for maintenance and longevity. Here are some tips to guide you:
- Consider the purpose: Think about what you’ll be using your shed for. If it’s for gardening tools, somewhere close to your garden would be ideal. If it’s for storing bicycles, a spot near the driveway might be better.
- Sun and shade: Does your shed require natural light? If you’re planning to use it as a workshop or greenhouse, you might want a location that gets plenty of sunlight. However, too much direct sunlight can lead to overheating in summer, so some shade is beneficial.
- Level ground: Choose a flat area to avoid water pooling around the shed. If your yard doesn’t have level ground, you might need to consider doing some landscaping work to create a suitable spot.
- Accessibility: Ensure easy access to your shed, both for bringing in large items and for regular use without having to navigate through tricky garden paths.
- Regulations and restrictions: Check your local zoning laws and homeowners’ association rules, if applicable, to ensure that you’re allowed to build a shed and see if there are any restrictions on where it can be placed.
Choosing the Right Size
Now that you’ve picked a spot, figuring out how big your shed needs to be is the next step. This might be determined by the space available or by what you plan to store inside. Here are some considerations:
- Your needs: List out what you plan to store in your shed or how you intend to use it. This will help you understand how much space you’ll need. Remember, it’s better to err on the side of too big than too small.
- Future-proofing: It’s wise to think about not just your immediate needs but also what you might need in the future. For instance, you might want to add more tools or create a workspace later on.
- Space constraints: While a larger shed might seem appealing, it’s important to consider how much of your yard it will occupy. Ensure you leave enough space around the shed for maintenance and movement.
- Proportions: The shed should look proportional to your house and garden. A shed that’s too large can overwhelm your space, while one that’s too small might not meet your needs.
- Local regulations: Again, check any local building codes or HOA guidelines, as there may be limits on the size of structures you can build in your yard without a permit.
Choosing the right location and size for your garden shed doesn’t just come down to personal preference. It requires thoughtful consideration of its function, the available space, and local regulations. But once you’ve nailed these aspects, you’re well on your way to not only enhancing your garden’s functionality but also boosting its charm. So, take your time, plan carefully, and soon you’ll be ready to move on to the fun part—building your perfect garden shed!
Essential Materials and Tools for Building a Garden Shed
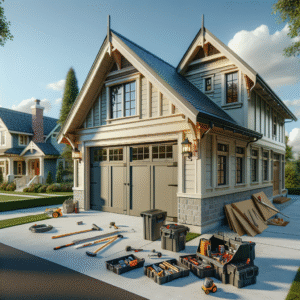
Embarking on a DIY garden shed project can be an exhilarating challenge that not only flexes your building muscle but also enhances your backyard space. Whether you’re a seasoned DIY enthusiast or a newcomer eager to tackle your first big project, having a comprehensive list of necessary materials and tools will make your construction process smoother and more efficient. Let’s dive into what you’ll need to turn your garden shed blueprint into reality.
Materials You Can’t Do Without
First things first, selecting the right materials is crucial for the durability and functionality of your shed. Here’s a rundown of the essential materials:
- Framing Lumber: This is the skeleton of your shed. Typically, 2×4 or 2×6 lumber is used depending on the size of your structure.
- Sheathing Material: Wood panels, typically plywood or oriented strand board (OSB), will cover the frame and provide the base for your roofing and siding.
- Siding: Vinyl, wood, or metal sidings are popular options. They protect the shed’s exterior from weather elements and define its look.
- Roofing Material: Choices include asphalt shingles, metal roofing, or tiles. Consider your local climate and the style of your home when choosing the roofing material.
- Doors & Windows: You can buy pre-made ones or build your own. Remember to include hinges and locks for security.
- Hardware & Fixings: Nails, screws, hinges, and brackets are essential for putting everything together securely.
- Paint or Stain: Not just for aesthetics—proper exterior paint or stain can protect your shed from moisture and sun damage.
- Foundation Materials: Concrete blocks or poured concrete to ensure a stable and level base.
Tip: Check out local suppliers to find the best deals on these materials. Often, local businesses in your area can provide competitive prices and advice tailored to your locality’s climate and building codes.
Tools to Get the Job Done
No workshop is complete without the right tools. Here’s what you’ll need to construct your garden shed:
- Measuring Tape: Accuracy is key, so a reliable measuring tape is indispensable.
- Circular Saw: For cutting lumber and sheathing to the right dimensions.
- Hammer: Essential for driving nails and other general carpentry work.
- Power Drill: A drill with various bits will be useful for making pilot holes and driving screws.
- Level: To ensure all parts of your shed are plumb and level.
- Ladder: Necessary for working on the roof and higher parts of the structure.
- Safety Gear: Don’t forget your gloves, goggles, and hearing protection!
Investing in quality tools can make the difference between a project feeling like a chore and a joy. Plus, good tools can last a lifetime!
A Few More Handy Tips
Before you start assembling your materials and tools, here are a few additional tips:
- Plan Ahead: Make sure you have all the materials and tools listed before you start. Running out mid-project can be a real headache.
- Seek Advice: Don’t hesitate to ask for help or advice from local hardware store experts or fellow DIY enthusiasts. They can offer invaluable insights that might save you time and money.
- Check Regulations: Always check your local building codes and regulations to ensure your garden shed meets all necessary requirements and obtain any necessary permits.
Remember, building a garden shed is not just about adding storage space; it’s about creating a landmark in your garden and a testament to your DIY skills. With the right materials and tools at your disposal, you’re well on your way to constructing a sturdy, functional, and stylish garden shed that you can be proud of.
Local Resources and Sustainability
If you’re looking to keep your project environmentally friendly and supportive of your local economy, consider sourcing reclaimed wood or materials from local suppliers. Not only does this help reduce your carbon footprint, but it also supports local businesses—a win-win for your community and the planet!
Building a garden shed can be a rewarding project that not only enhances your outdoor area but also boosts your DIY confidence. By meticulously planning and equipping yourself with the right materials and tools, you’re setting yourself up for a successful build. Happy constructing!
Step-by-Step Construction Process for a DIY Garden Shed
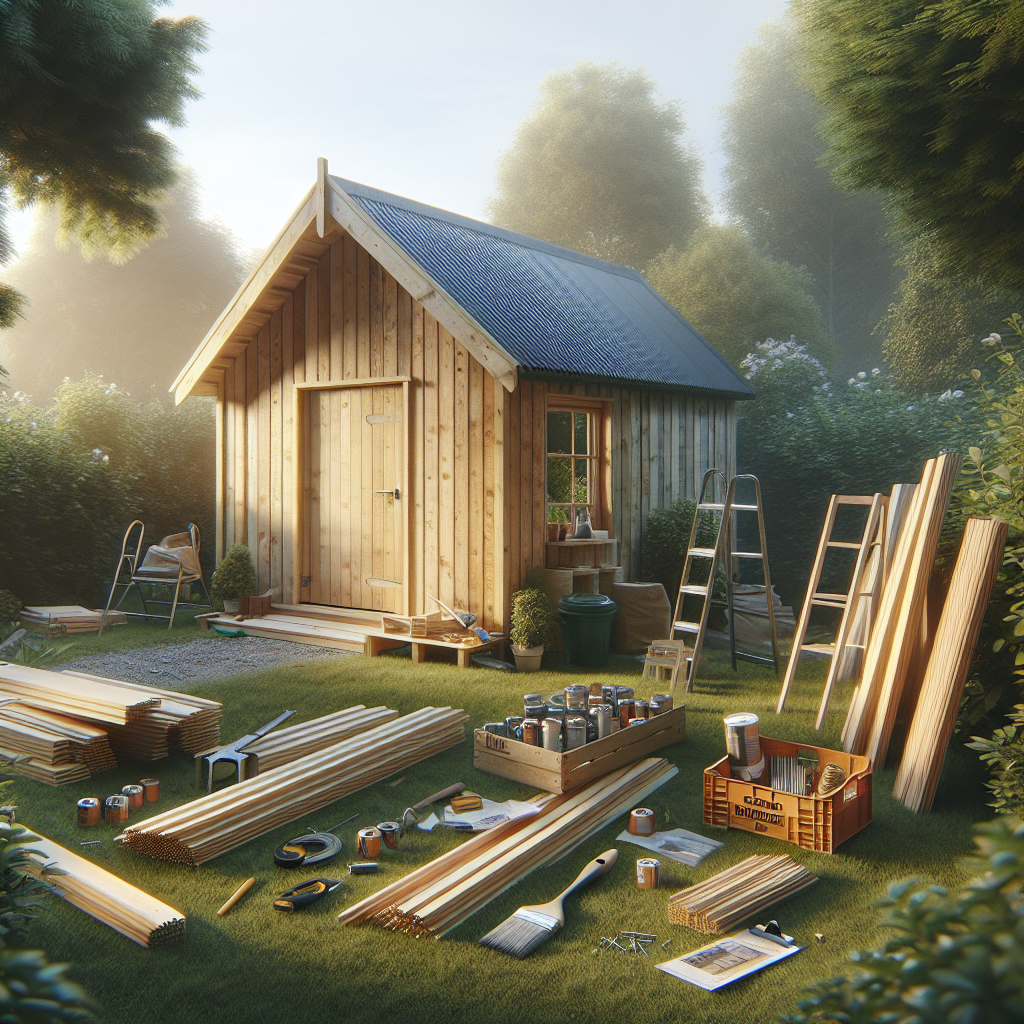
Hey there, DIY enthusiast! Ready to roll up your sleeves and dive into building your very own garden shed? You’re in the right place! A garden shed not only boosts your storage space but also adds charm to your backyard. Let’s break down the construction process into manageable steps, ensuring you can follow along without a hitch. Whether you’re in the heart of a bustling city or enjoying the tranquility of the countryside, these tips will guide you through erecting a sturdy and stylish garden shed.
Step 1: Lay the Foundation
First things first, a solid foundation is crucial for any structure, and your garden shed is no exception. Here’s how you can ensure a strong base:
- Choose the Type: Depending on your location’s climate and soil type, opt for either a concrete slab or a wooden floor supported by concrete piers. Concrete is perfect for wetter climates, whereas wood is ideal for drier areas.
- Clear and Level the Site: Select a flat, well-drained area in your yard. Remove any grass, rocks, or debris. Level the ground using a shovel and rake.
- Form the Base: If you’re going with concrete, create a wooden form to hold the concrete in place while it sets. For a wood floor, position your floor frame on top of the piers securely.
Step 2: Construct the Floor Frame
Once your foundation is set, it’s time to frame the floor of your shed:
- Measure and Cut: Measure the lumber according to your shed’s dimensions. Cut the joists and beams using a circular saw for accuracy.
- Assemble the Frame: Lay out the joists and attach them to the outer beams with galvanized screws or nails to prevent rusting.
- Ensure Squareness: Use a carpenter’s square to ensure all corners are 90 degrees, maintaining the integrity of your structure.
- Secure the Floor: Attach the plywood sheeting on top of your frame with screws, ensuring it’s flush and secure.
Step 3: Raise the Walls
With the floor in place, you’re ready to build the walls:
- Frame the Walls: Similar to the floor, measure, cut, and assemble the wall frames using 2x4s. Include openings for doors and windows.
- Stand Them Up: With a helper, lift each wall frame into place. Secure them to the floor and to each other at the corners.
- Add Stability: Install horizontal blocking between the studs at roughly half the wall height to add rigidity and support for the wall sheathing.
Step 4: Attach the Roof
Now, let’s get a roof over your head:
- Build the Rafters: Cut the rafters to size, ensuring they fit the span of your shed. The angle of the cut depends on the pitch of your roof.
- Assemble the Roof Frame: Attach the rafters to a ridge board at the peak and secure them to the top plates of the walls.
- Sheath the Roof: Cover the rafters with plywood sheathing, followed by roofing felt, and finally your choice of shingles or metal roofing.
Step 5: Install Doors and Windows
It’s time to brighten up your shed with some natural light and ensure easy access:
- Frame the Openings: If not done already, frame out the space for your doors and windows. Make sure to measure twice to avoid any missteps!
- Hang the Doors: Install the door hinges securely and hang the door. Ensure it opens and closes smoothly.
- Set the Windows: Place the window into the framed opening. Secure it with screws and apply caulking around the edges to seal any gaps.
Step 6: Finish with Siding and Trim
You’re almost there! Let’s wrap up by giving your shed some character and protection:
- Attach the Siding: Choose from materials like wood, vinyl, or fiber cement. Cut the siding to size and attach it around the shed, making sure to cover the corners and edges for a clean finish.
- Install the Trim: Trim provides not only an aesthetic finish but also covers any exposed joints or edges, which helps in weatherproofing your shed.
- Paint and Decorate: Apply a coat of paint or stain to match your home or to fit the natural surroundings. Add hooks, shelves, and storage solutions inside to maximize your shed’s functionality.
And voila! You’ve built a garden shed tailored to your needs and style. Remember, building a shed is not just about adding storage space; it’s about creating a haven in your backyard where you can relax, work, or indulge in your hobbies. Every nail driven and every board cut adds character and value to your outdoor space. Happy building!
What are the key factors to consider when choosing a location for a garden shed?
Choosing the right location for your garden shed is crucial for both functionality and aesthetics. Consider factors such as proximity to your house for easy access, exposure to natural elements like sunlight and wind, and the levelness of the ground. Ensure the location does not disrupt the natural flow of your garden and check local zoning laws to avoid any legal issues.
How large should my garden shed be?
The size of your garden shed should be dictated by its intended use. If you’re planning to store garden tools and a lawnmower, a smaller shed might suffice. However, if you’re looking to create a workshop or need significant storage space, opt for a larger structure. Always ensure there’s enough room for comfortable movement inside.
What are the essential materials needed for building a garden shed?
Building a sturdy garden shed requires quality materials. Key materials include:
- Timber: For framing and structure.
- Plywood or OSB: For exterior walls and roofing.
- Roofing material: Such as shingles or metal roofing.
- Screws and nails: For secure assembly.
- Paint or stain: For weather protection and aesthetics.
What tools will I need to build a garden shed?
To successfully build a garden shed, you’ll need various tools. Essential tools include:
- Circular saw: For cutting timber and plywood.
- Drill: For making pilot holes and driving screws.
- Hammer: For nailing tasks.
- Level: To ensure everything is perfectly horizontal and vertical.
- Tape measure: For precise measurements.
Can you provide a brief step-by-step guide to building a DIY garden shed?
Building a garden shed can be a rewarding DIY project. Here are the basic steps:
- Foundation: Start by laying a solid foundation, using concrete blocks or a wooden frame.
- Framing: Construct the walls and roof frame using timber.
- Siding: Attach plywood or OSB sheets for the walls.
- Roofing: Install the roofing material of your choice.
- Doors and windows: Fit them in the designated openings.
- Finishing touches: Paint or stain the exterior to protect it from the elements.
What are common mistakes to avoid when building a garden shed?
Avoid these common pitfalls to ensure a smooth construction process:
- Ignoring local building codes: Always check with your local authorities regarding permits and restrictions.
- Skimping on materials: Using low-quality materials can lead to durability issues.
- Poor planning: Ensure you have a clear plan and measurements before starting construction.
Conclusion:
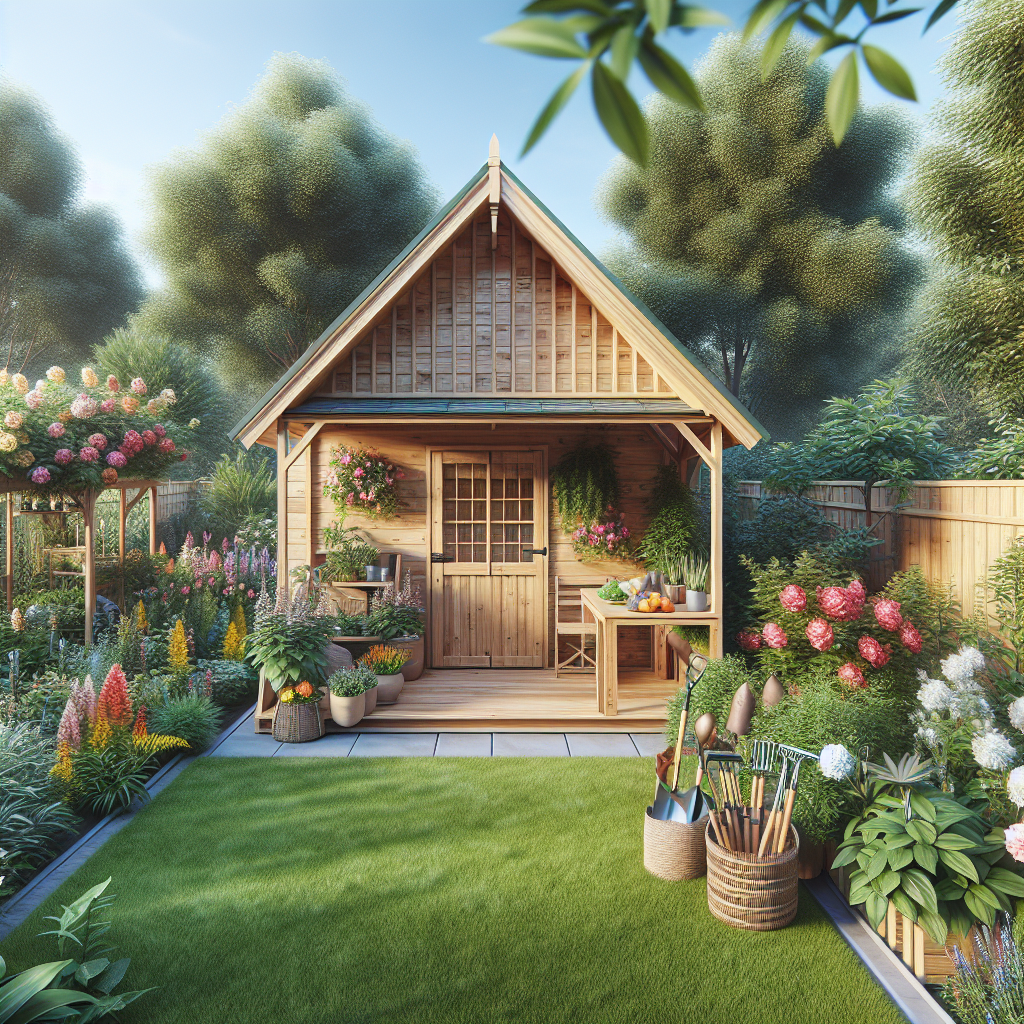
Building a garden shed is not just about adding storage space; it’s about creating a functional and attractive addition to your garden. By carefully considering the location, ensuring you have the right size, and using the appropriate materials and tools, you can embark on this DIY project with confidence. Don’t forget to plan thoroughly and adhere to local building codes to ensure your garden shed stands the test of time.
If you’re unsure about tackling this project alone or need professional guidance, remember that help is just a few clicks away. Visit the BuildNet website to explore a multitude of contracting professionals who can offer expert advice or even take on the project for you. Don’t hesitate to contact a contractor through BuildNet for a free quote on your garden shed or any other home improvement quests you have in mind. We’re here to help you build not just structures, but also dreams!