Choosing the Right Space for Your Home Workshop
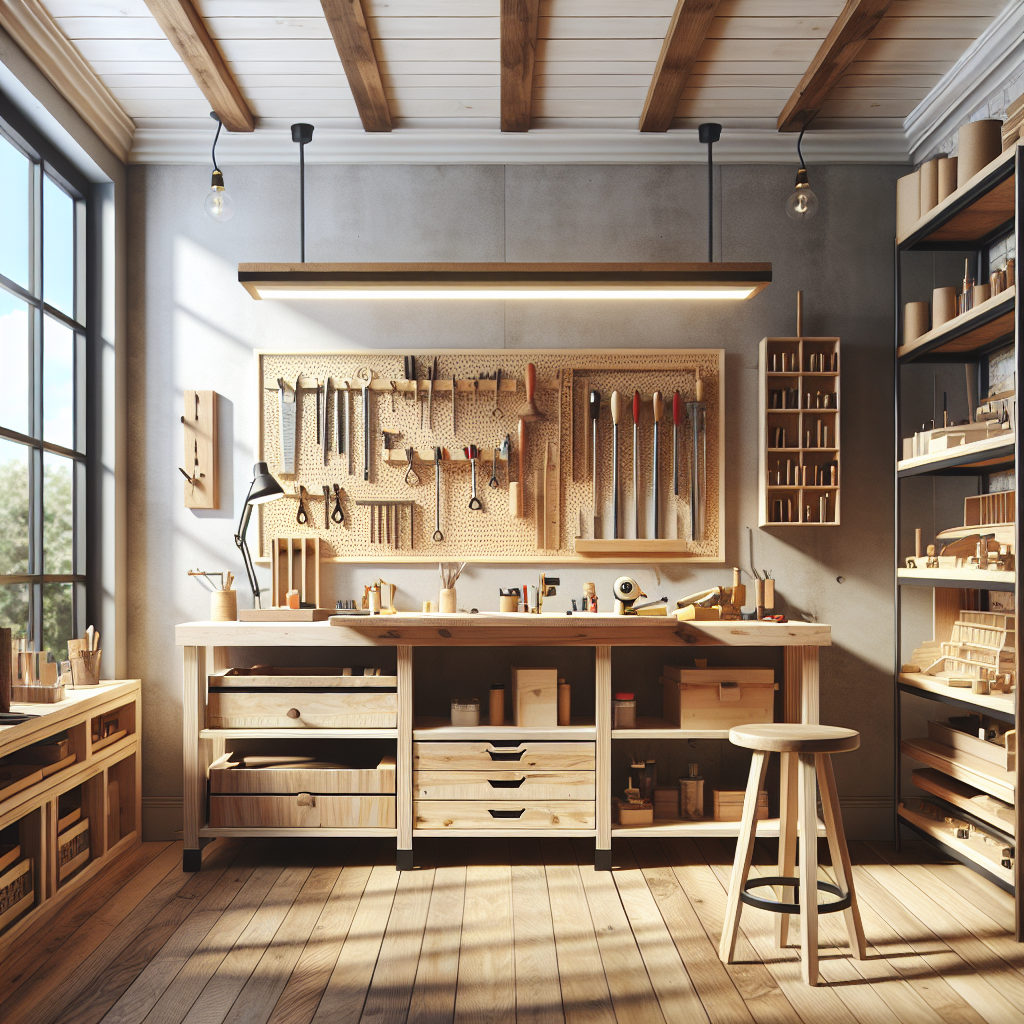
Setting up a home workshop can be exhilarating, whether you’re a budding DIY enthusiast or a seasoned professional. The first step in creating a functional and efficient workspace is choosing the right space. This involves assessing the size of the room based on the types of projects you intend to tackle. For instance, larger pieces such as furniture projects will require more space compared to electronics or small gadget repairs. Additionally, factors like ventilation, lighting, and electrical needs are crucial to ensure safety and comfort. A well-ventilated area prevents the accumulation of harmful fumes, adequate lighting enhances visibility for meticulous tasks, and sufficient electrical outlets ensure that you can operate multiple tools simultaneously without overloading the system.
Essential Tools and Equipment for a Well-Equipped Home Workshop
Equipping your workshop with the right tools can make a significant difference in the success of your projects. Here’s a quick rundown of must-have tools, ranging from basic to more advanced options:
Must-Have Tools for Beginners to Professionals
- Hammer: A versatile tool for various tasks.
- Screwdrivers: Both flathead and Phillips head.
- Wrench set: For tackling nuts and bolts.
- Power drill: Essential for making holes or driving screws.
- Saw: Different types like hand saws and power saws depending on your needs.
When selecting tools, prioritizing quality over quantity within your budget will ensure longevity and reliability of your equipment, providing value for money in the long run.
Organizational Strategies for Maximum Efficiency in Your Workshop
Organization is key to maintaining a productive workshop. Implementing effective storage solutions for your tools and materials not only helps in keeping your workspace tidy but also saves time and enhances safety. Here are some tips:
Techniques for Storing Tools and Materials
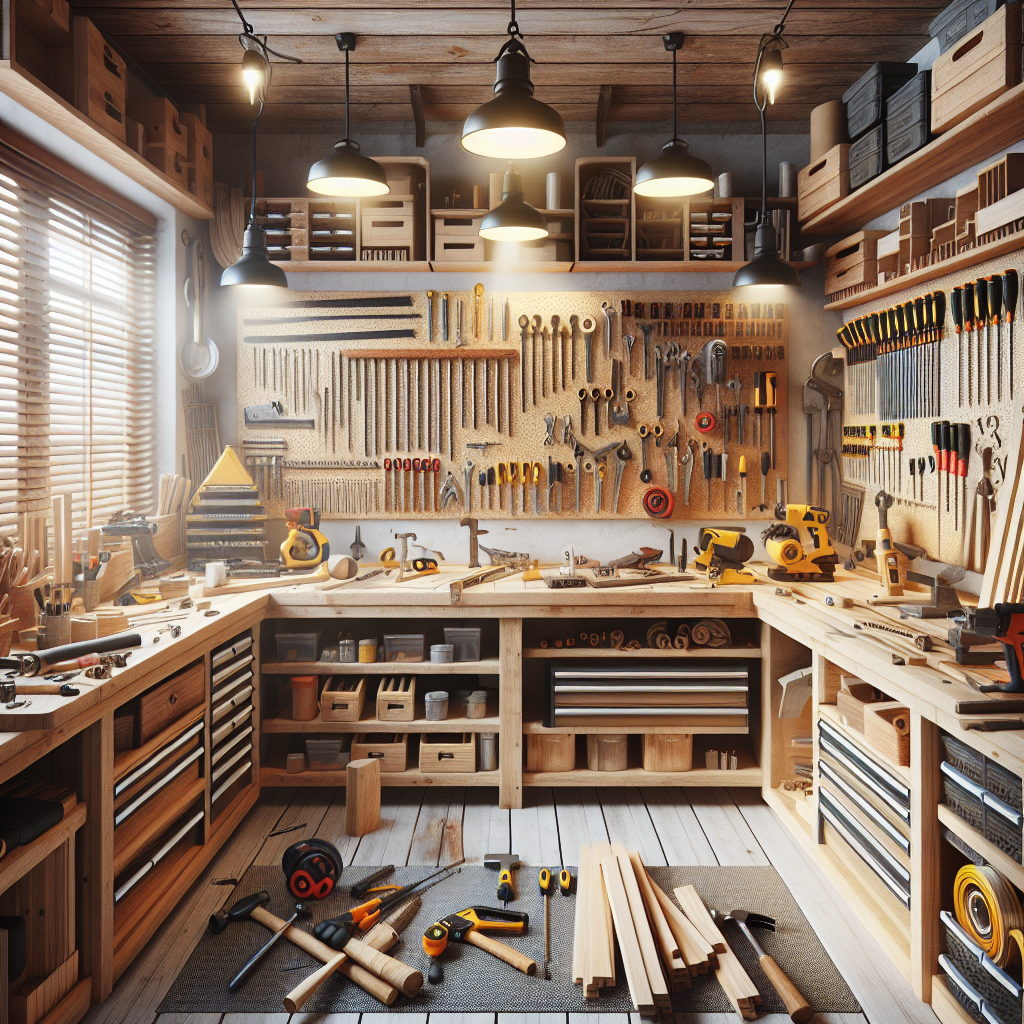
- Use wall-mounted racks for commonly used tools.
- Label drawers and bins for easy identification.
- Invest in sturdy shelves for storing heavier items.
Maintaining a clean and safe working environment is equally important. Regular cleaning of the workshop prevents the build-up of dust and debris, which can be a fire hazard and may interfere with the functionality of your tools.

If you’re ready to take your home improvement or construction project to the next level, we can help! Find trusted contractors on BuildNet, whether you’re looking for renovations, new builds, electrical work, plumbing, or anything in between. Our directory connects you with qualified professionals who can make your vision a reality.
Choosing the Right Space for Your Home Workshop
Creating a home workshop is an exciting venture for any DIY enthusiast or professional craftsman. However, selecting the right space within your home isn’t just about finding where you can squeeze in a workbench. It’s about optimizing your environment to boost creativity, efficiency, and safety. Let’s dive into how you can assess your space requirements based on the type of projects you undertake, and evaluate the essential elements such as ventilation, lighting, and electrical needs.
Assessing Space Requirements Based on Project Types
First things first, consider what you’re planning to do in your workshop. Are you a woodworker, a metalworker, or perhaps a general handyman? Each type of project requires different amounts of space, storage solutions, and setups.
- Woodworking: Typically requires larger space due to the size of the materials and the machinery like table saws and band saws.
- Metalworking: Might need areas for welding or a forge, which means thinking about fire safety and durable surfaces.
- Electronics and Painting: These projects could require smaller spaces but need good ventilation and lighting.
Think about the largest project you might tackle and ensure you have enough room to maneuver around comfortably. The last thing you want is to be tripping over power cords!
Evaluating Ventilation, Lighting, and Electrical Needs
Once you’ve got an idea about the size of your space, it’s time to consider the workshop’s infrastructure to ensure it supports your projects effectively.
Ventilation
Proper ventilation is crucial, especially if you’re working with fumes from paint or solvents. Installing a good-quality exhaust fan can help suck unhealthy air out of your workspace, keeping you safe. For heavier projects, consider air filtration systems that can trap even the finest dust and debris from woodworking or sanding.
Lighting
Good lighting not only makes your projects easier but also safer. Natural light is best, so if possible, set up near a window. However, relying solely on natural light isn’t always feasible. Integrated LED shop lights are great for bright, energy-efficient illumination that covers large areas. Task lighting, like adjustable desk lamps, can focus light directly where you need it, which is particularly helpful for intricate work.
Electrical Requirements
Assessing the electrical requirements of your workshop is not to be overlooked. Ensure you have enough outlets and that they’re well-placed. It’s frustrating and hazardous to extend cords all over the shop. If possible, invest in having a few more outlets professionally installed where you need them most. Also, consider the power requirements of your tools. High-powered tools might require circuits that can handle more amperage, so consult with a licensed electrician to make sure your workshop meets these needs.
By carefully considering the type of work you’ll be doing, and ensuring your workshop is equipped with proper ventilation, lighting, and adequate electrical outlets, you’ll create a space that’s not only functional but also a pleasure to work in. Remember, the right environment significantly impacts productivity and safety, so take your time to plan out your ideal workspace.

Essential Tools and Equipment for a Well-Equipped Home Workshop
Whether you’re a DIY enthusiast tackling home improvement projects on the weekends or a professional looking to set up a small-scale workshop, having the right tools and equipment is crucial. Let’s dive into the essentials that will transform your workspace into a well-oiled machine, no matter your skill level or budget constraints.
Must-Have Tools for Every Home Workshop
Building a foundational toolkit is like creating a culinary masterpiece; you need the right ingredients! Here are some indispensable tools that should find a home in your workshop:
- Hammer: A good quality hammer is indispensable for everything from basic home maintenance to more complex projects.
- Screwdrivers: Invest in a variety of sizes and head types (Phillips and flathead at minimum) to cover most household tasks.
- Wrenches: An adjustable wrench can tackle various projects, but consider a set of fixed-size wrenches for more precision and grip.
- Pliers: Need to twist, pull, or cut? A set of pliers including locking, needle-nose, and side-cutting types, is essential.
- Electric Drill: A versatile electric drill can save you time and energy, whether you’re assembling furniture or building from scratch. Don’t forget a set of drill bits for different materials.
- Measuring Tape: Accuracy is key in DIY projects, making a reliable measuring tape an essential tool in your arsenal.
- Level: Ensure all your projects are perfectly horizontal or vertical with a sturdy level.
- Utility Knife: For opening boxes, sharpening pencils, or marking cuts on wood, a sharp utility knife is incredibly handy.
- Saw: Depending on your projects, consider starting with a handsaw and eventually adding power saws like circular saws and miter saws as your skills and needs grow.
- Safety Gear: Safety should never be compromised. Always have protective eyewear, gloves, and hearing protection at your disposal.
Tips on Selecting Quality Tools Within Your Budget
While it’s tempting to go for the cheapest options available, investing in quality tools can save you money in the long run due to durability and better performance. Here’s how to balance quality with budget:
- Research Brands: Some brands are known for their durability and reliability. Spend some time reading reviews and seeking recommendations from experienced users.
- Buy in Sets: Often, buying a set of tools (like screwdrivers or wrenches) can be cheaper than purchasing them individually.
- Look for Sales and Discounts: Hardware stores frequently have sales, especially around major holidays. This can be a great time to pick up high-quality tools at a lower price.
- Consider Refurbished Tools: Many manufacturers refurbish tools and sell them at a significant discount. These can offer high performance at a fraction of the cost.
- Start with Basics: Initially, invest in basic, versatile tools. As your skills and project complexity increase, gradually upscale your toolkit.
Remember, the best tool kit is one that fits your specific needs. Don’t overwhelm yourself with tools you may not use. Start small, grow your collection responsibly, and always prioritize quality over quantity. That’s how you build a workshop that not only serves your immediate needs but also adapts to your growing skills.
Organizational Strategies for Maximum Efficiency in Your Workshop
Hey there, DIY enthusiasts and professional craftsmen! Are you ready to transform your home workshop into a model of efficiency and productivity? Organizing your workspace not only makes it safer but also saves you tons of time, letting you focus on what you do best—creating amazing things. Let’s dive into some practical organizational strategies that will keep your tools and materials in order and your workshop running smoothly.
Techniques for Storing Tools and Materials
First things first, organizing your tools and materials is essential to any well-maintained workshop. Here’s how you can get started:
1. Use the Walls
- Pegboards: An absolute game-changer. Install a pegboard on one of your workshop walls to hang tools in a way that makes them easily accessible. Customize hook placements as your tool collection grows or changes.
- Shelves: For those items that can’t hang comfortably on pegboards, shelving is your friend. Adjustable shelves can be particularly useful as they allow you to accommodate different sized items.
- Magnetic strips: These are perfect for storing metal tools. They keep tools visible and handy, ensuring that everything you need is within an arm’s reach.
2. Consider Tool Chests and Storage Cabinets
If you’re dealing with a variety of small tools and components, a well-organized tool chest with labeled drawers can be a lifesaver. For larger materials and power tools, robust storage cabinets can help you stay organized and keep dust off your equipment.
3. Use Clear Storage Bins
Especially useful for sorting and storing smaller materials and hardware. Clear bins allow you to see inside, so you spend less time searching for what you need. They can be stacked on shelves or rolled under workbenches to save space.
4. Mobile Storage Solutions
Consider investing in a rolling cart. It’s a fantastic way to keep your most-used tools and equipment handy, and you can easily move it around your workshop depending on your project’s needs.
How to Maintain a Clean and Safe Working Environment
A cluttered workshop is not just inefficient—it can be dangerous. Here are a few tips to keep your space clean and ensure safety:
1. Regular Cleaning Schedule
It’s important to set a regular cleaning schedule. Dedicate time at the end of each day or week to clear away debris, wipe down surfaces, and put tools back in their designated places. This not only maintains organization but also prevents accidents and tool damage.
2. Proper Disposal Systems
Have bins for waste and recycling within easy reach. Segregate materials like wood, metal, and plastic to simplify disposal and recycling. This practice helps in maintaining a clean workspace and supports environmental responsibility.
3. Cord Management
Loose cords can be a major trip hazard. Use cord wraps or clips to secure loose wires and cords along walls or under workbenches. Keeping cords out of pathways reduces risk and helps maintain a tidy work area.
4. Adequate Lighting
Good lighting is crucial not just for safety but also for effective workmanship. Ensure that all areas of your workshop are well-lit to avoid mishaps and to make detailed tasks easier to accomplish.
5. First Aid and Fire Safety
Always have a fully stocked first aid kit and a fire extinguisher accessible in your workshop. Accidents can happen, and being prepared is your first line of defense against more serious outcomes.
Remember, a well-organized workshop reflects the quality of work produced within it. Investing a little time and effort into these organizational strategies not only enhances efficiency but also makes your workshop a safer and more enjoyable place to work. Let these tips guide you to a more productive and satisfying crafting experience!

What are the key factors to consider when choosing a space for my home workshop?
When selecting a space for your home workshop, consider the types of projects you plan to undertake. Space should be ample enough to accommodate large or multiple pieces of equipment. Prioritize good ventilation, especially if you’re working with chemicals or materials that produce fumes. Adequate lighting is crucial for precision in any project, and ensure there are enough electrical outlets to power all your tools safely.
What are some essential tools I should have in my home workshop?
For a well-equipped home workshop, start with basics like hammers, screwdrivers, and wrenches. As you expand, consider power tools such as a drill, circular saw, and a sander. For more advanced setups, a table saw and a welding kit might be necessary. Always choose tools that balance quality with your budget, opting for durability and efficiency.
How can I organize my workshop to improve efficiency?
Organizing your workshop can significantly boost your efficiency. Use shelving units and pegboards to keep tools accessible yet out of the way. Invest in storage solutions like drawers or bins for smaller items. Label everything clearly, and maintain a designated area for each type of project. Regular cleaning and maintenance of tools will also enhance your workshop’s functionality.
What are the best practices for maintaining safety in my workshop?
Always wear appropriate personal protective equipment like safety glasses, gloves, and ear protection. Keep your workshop clean and free of clutter to avoid accidents. Store flammable materials safely and ensure your space is equipped with a fire extinguisher. Regularly check tools for wear and tear and repair or replace damaged items promptly.
Can a professional contractor help me set up my home workshop?
Yes, hiring a professional contractor can be very beneficial when setting up your home workshop. They can provide expert advice on the layout, help with the installation of heavy equipment, and ensure all electrical setups meet safety standards. For personalized advice and to get started with a free quote, consider contacting a contractor through the BuildNet website.
Conclusion
Setting up a home workshop is an exciting endeavor that boosts creativity and productivity. Choosing the right space, equipping it with the necessary tools, and organizing it efficiently are crucial steps to creating an effective workspace. Remember, safety is paramount, so invest in proper gear and maintain equipment regularly. If you’re unsure about how to optimize your workshop, consulting with a professional via BuildNet can make the process smoother and safer. They offer expert guidance tailored to your specific needs and can help transform your vision into reality. Don’t hesitate to reach out on the BuildNet website for a free quote and professional advice tailored just for you. Happy building!


