Introduction to Smart Thermostats: Benefits and Compatibility
Thinking of upgrading your home’s heating and cooling system to be more energy-efficient and tech-savvy? A smart thermostat could be the perfect addition. Not only do these intelligent devices offer you convenience and control from your smartphone, but they can also help reduce your energy bills. Before you jump into purchasing one, it’s crucial to verify if a smart thermostat is compatible with your existing home systems. This compatibility check ensures that your new device can communicate effectively with your heating and cooling setup, paving the way for a seamless integration.
Benefits of Installing a Smart Thermostat
- Energy Efficiency: Smart thermostats learn your schedule and temperature preferences, adjusting your home’s climate to optimize energy usage.
- Remote Control: Adjust your home’s temperature from anywhere using your mobile device – this means no more worrying if you forgot to turn off the AC!
- Insights on Usage: Receive detailed reports on your energy consumption, helping you make informed decisions to further reduce costs.
Checking Compatibility
Before installation, ensure your heating and cooling system type (HVAC) is compatible with the smart thermostat model you choose. Most smart thermostats support common systems like central heat and air units, but if you have a less common setup like a high-voltage system or certain heat pumps, you might need a specific model. Checking compatibility is as simple as consulting your current HVAC system’s documentation or reaching out to a professional for advice.
Step-by-Step Installation Guide for Smart Thermostats
Installing a smart thermostat can seem daunting, but with the right tools and a bit of know-how, it’s a task many homeowners can undertake on their own. From what tools you will need, to connecting your new thermostat to your Wi-Fi network, we’ll guide you through each step.
Troubleshooting Common Issues and Tips for Maintenance
Even the best-installed smart thermostats can encounter issues. We’ll walk you through common problems and offer maintenance tips to keep your device running smoothly, ensuring you continue to save on those energy bills.

If you’re ready to take your home improvement or construction project to the next level, we can help! Find trusted contractors on BuildNet, whether you’re looking for renovations, new builds, electrical work, plumbing, or anything in between. Our directory connects you with qualified professionals who can make your vision a reality.
Introduction to Smart Thermostats: Benefits and Compatibility
Have you ever returned from a long day at work to find your home either sauna-hot or unpleasantly cold? Or maybe you’ve fretted about your energy bill skyrocketing because of your heating and cooling habits? If these scenarios sound familiar, it might be time to consider upgrading to a smart thermostat. In this guide, we’ll explore the myriad benefits of smart thermostats and how to ensure they’re compatible with your home’s systems.
Understanding the Benefits of Installing a Smart Thermostat
Smart thermostats offer a wealth of benefits that go beyond mere temperature control. Here are some of the top advantages:
- Energy Efficiency: One of the most compelling reasons to install a smart thermostat is the potential for significant energy savings. These devices learn your habits and adjust the heating and cooling of your home accordingly, ensuring that energy isn’t wasted when no one is home. This can lead to a reduction in your monthly energy bills, a win for both your wallet and the environment.
- Remote Control: With a smart thermostat, you can control the temperature of your home remotely using your smartphone or tablet. This means you can adjust your home’s climate before you even walk through the door, ensuring optimal comfort at all times.
- Enhanced Comfort: Smart thermostats maintain a more consistent temperature in your home, eliminating those pesky hot or cold spots that can be so uncomfortable. Plus, they can adjust the humidity levels, making your living space even more pleasant.
- Insights and Reports: Curious about your energy usage? Most smart thermostats provide detailed reports that help you understand when and how you’re using energy, paving the way for more informed decisions about your heating and cooling practices.
- Voice Control Integration: Many smart thermostats work with voice-controlled assistants like Amazon Alexa, Google Assistant, or Apple HomeKit. Just say the word, and your home adjusts to your comfort level without you having to lift a finger.
These benefits not only enhance home comfort but also contribute to a smarter, more energy-efficient way of living.
Checking Compatibility with Your Home Heating and Cooling System
Before you rush out to buy a smart thermostat, it’s crucial to ensure it will work with your existing home heating and cooling system. Here’s how you can check compatibility:
Identify Your System Type
Start by identifying what type of heating and cooling system you have. Common types include central heat, central heat and air (HVAC), heat pump, hydronic (hot water baseboard), and more. The type of system you have can affect which smart thermostats will work in your home.
Check Wiring Requirements
Most smart thermostats require a C-wire (common wire) to supply continuous power. Check your current thermostat to see if it has a C-wire. If not, some smart thermostats come with an adapter you can install yourself or you may need to hire a professional for installation.
Consult Compatibility Tools
Many smart thermostat manufacturers offer online tools where you can input details about your home’s heating and cooling system to check compatibility. For instance, popular brands like Nest or Ecobee have dedicated sections on their websites for this purpose.
Professional Consultation
If you’re still unsure about compatibility, it might be wise to consult with a professional. Local HVAC specialists (like those you might find on a home service directory) can provide guidance and help you find a thermostat that fits your system perfectly.
Incorporating a smart thermostat into your home is more than just a technological upgrade. It’s about enhancing comfort, simplifying your lifestyle, and making intelligent choices about energy consumption. As you consider making the switch, keep these benefits and compatibility checks in mind to ensure a smooth and successful transition to smarter heating and cooling.

Step-by-Step Installation Guide for Smart Thermostats
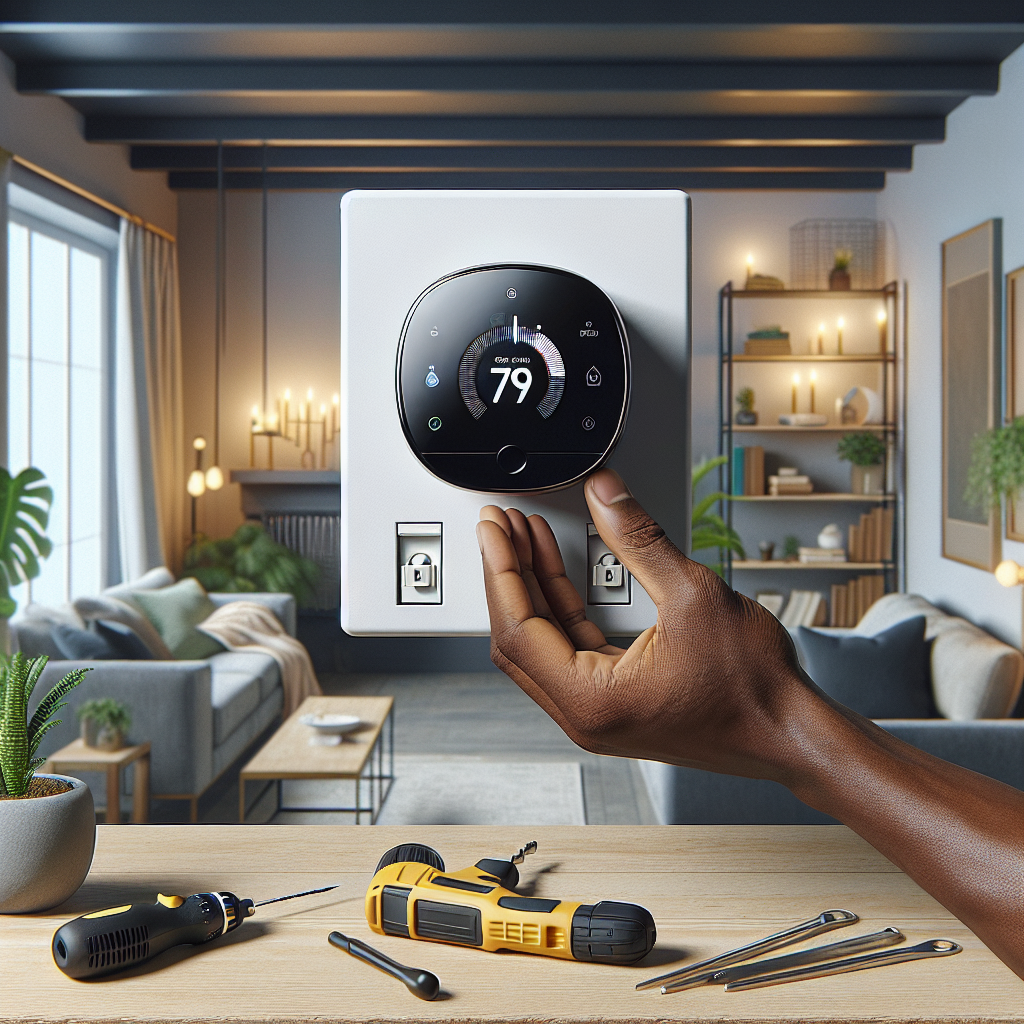
Hey there! If you’ve decided to upgrade to a smart thermostat, you’re on your way to not only making your home more comfortable but also saving on energy costs. Installing a smart thermostat is a fantastic DIY project that most homeowners can handle. Let’s walk through the process together, from unboxing your new gadget to getting it fully set up and synced with your mobile device. Ready? Let’s dive in!
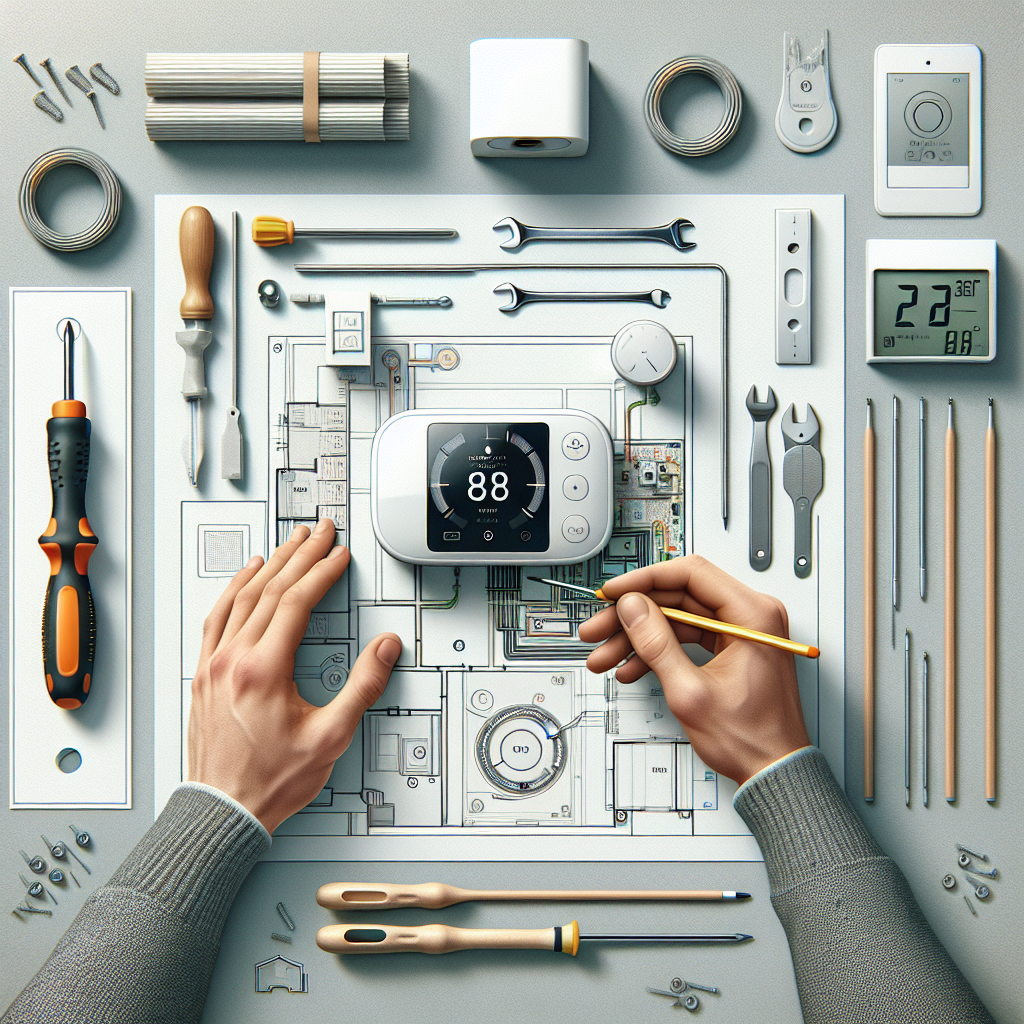
Tools and Materials Needed for Installation
First things first, let’s make sure you have all the necessary tools and materials on hand before you start:
- Screwdriver: Most installations require both Phillips and flathead types.
- Wire labels: These might come with your thermostat, but if not, any small labels will do.
- Drill: If you need to make new holes in the wall for mounting.
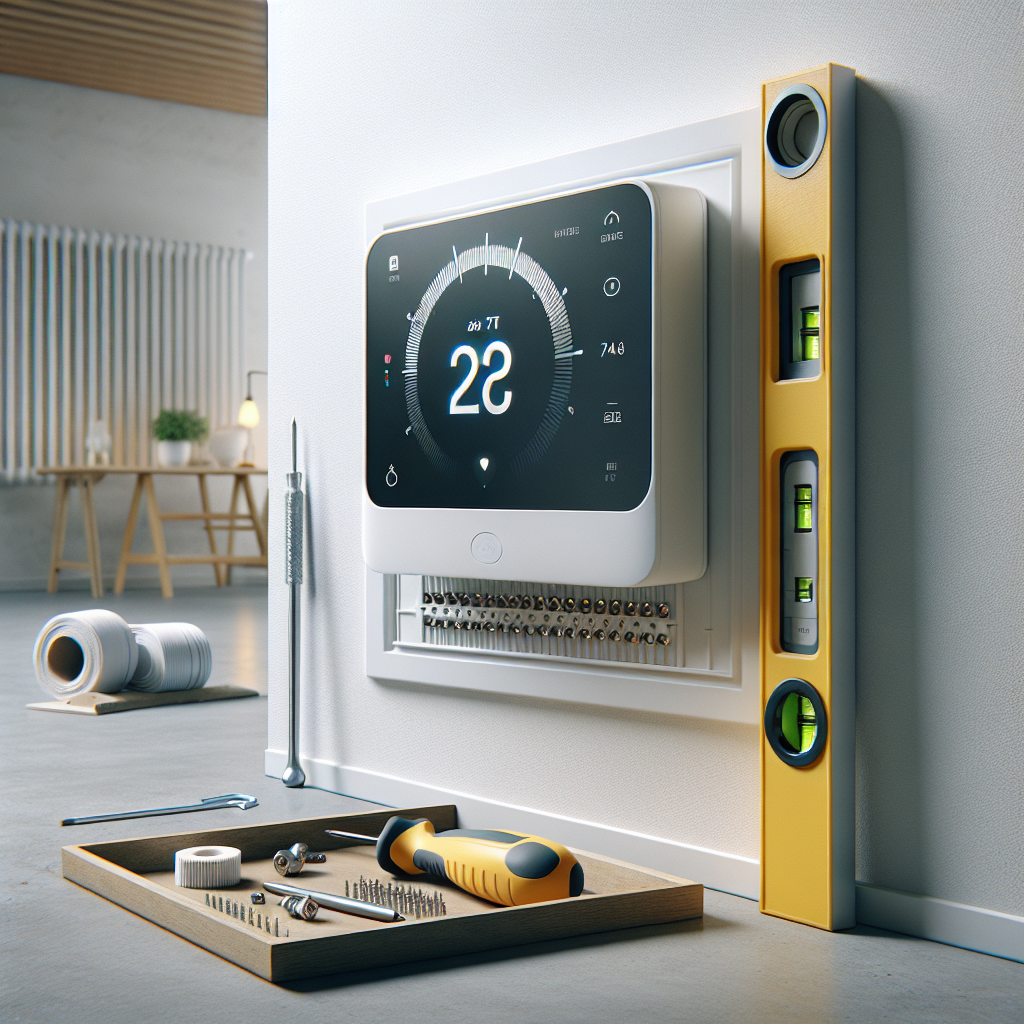
- Level: To ensure your thermostat is perfectly horizontal.
- Smartphone or Tablet: You’ll need this for the final setup and configuration.
- Camera or Notepad: To take pictures or notes of the existing wiring.
With your toolbox ready, you’re all set to start the actual installation process.
Detailed Installation Steps from Unboxing to Setup
Installing your smart thermostat involves several key steps:
Step 1: Turn Off Power
Important: Ensure your safety by turning off the power to your heating and cooling system at the breaker box. This prevents any electrical accidents while you work.
Step 2: Remove Old Thermostat
Carefully remove the cover of your old thermostat. Take a picture of the wires or label them before disconnecting them – this is crucial for wiring your new thermostat correctly. Disconnect the wires and unscrew the old unit from the wall.
Step 3: Install the Smart Thermostat Baseplate
Place the new thermostat base plate against the wall. Use a level to make sure it’s straight. Mark the wall through the mounting holes if needed. Drill holes, insert any drywall anchors, and secure the plate with the provided screws.
Step 4: Connect the Wires
Refer to your photo or notes and connect the wires to the corresponding terminals on the new thermostat. Each terminal usually has a matching label. Ensure each wire is securely attached by tugging gently on them.
Step 5: Attach the Thermostat to the Baseplate
Once all wires are connected, mount the thermostat itself to the baseplate. It should click into place or be secured with screws, depending on the model.
Step 6: Turn Power Back On
Head back to your circuit breaker and turn the power back on for your heating and cooling system. It’s time to see the fruits of your labor!
Step 7: Configure with Your Mobile Device
Finally, download your thermostat’s mobile app and follow the in-app instructions to connect it to your Wi-Fi network. This step will enable remote control of your home’s temperature and allow you to enjoy all the smart features of your new thermostat.
Configuring the Smart Thermostat with Your Mobile Device
Setting up your smart thermostat with your mobile device not only maximizes its functionality but also provides ease of access from anywhere. Here’s how to get it done:
- Install the App: Download the thermostat’s app from the App Store or Google Play.
- Create an Account: If you don’t already have an account, the app will prompt you to create one.
- Add Your Thermostat: Follow the app’s instructions to add your new thermostat. This usually involves scanning a QR code on the unit.
- Connect to Wi-Fi: Enter your Wi-Fi details to connect the thermostat to the internet.
- Set Your Preferences: Customize settings like temperature preferences, schedules, and any home/away rules according to your lifestyle.
And voilà, you are all set! Your smart thermostat is now an integral part of your home, ready to make your life more comfortable and energy-efficient. Enjoy the convenience and rest easy knowing you’ve successfully upgraded your home’s technology!
Troubleshooting Common Issues and Tips for Maintenance
Welcome to the world of smart thermostat troubleshooting and maintenance! Whether you’ve just stepped into the realm of smart home technology or you’re looking to keep your device in tip-top shape, you’ve landed in the right place. Let’s dive into some common hiccups you might encounter and how to keep your smart thermostat running smoothly.
Common Problems and Their Solutions
Smart thermostats are heralded for their efficiency and convenience. However, like any tech, they can sometimes leave you scratching your head. Here are a few typical issues and how to fix them:
Wi-Fi Connectivity Issues
Is your smart thermostat losing its connection to your home network? First, check to ensure your Wi-Fi network is active and stable. If other devices are also struggling with connection, it might be a router issue. Restarting your router can often resolve this glitch. If the problem persists, ensure your thermostat is within a good range of the router or consider a Wi-Fi extender.
Inaccurate Temperature Readings
If your thermostat seems to be from another planet, showing temperatures too high or too low, it might be installed in a bad spot. Keep it away from direct sunlight, drafty areas, or anything that emits heat. Recalibration is also a handy trick—check your model’s manual for specific instructions on how to recalibrate.
Non-Responsive Device
A non-responsive thermostat can often be rebooted to return to normal functioning. If a restart doesn’t help, it might be a power issue. Ensure the wiring is secure and the power source is consistent. Sometimes, simply replacing the batteries or checking the circuit breaker can be the quick fix you need!
Tips for Regular Maintenance
Regular maintenance can drastically extend the life of your smart thermostat and enhance its performance. Here’s how you can keep your device in the best working condition:
Software Updates
Just like your smartphone, your smart thermostat needs updates. These updates often include bug fixes, performance enhancements, and new features. Ensure your device is set to update automatically or manually check for updates regularly through the app associated with your device.
Cleaning
Keep your thermostat free from dust and debris, which can affect its sensors and lead to inaccurate readings. Gently wipe the surface with a dry or slightly damp cloth. Avoid chemical cleaners or anything that could seep into the device and cause damage.
Battery Check
If your thermostat runs on batteries, check them periodically. Weak batteries can lead to system malfunctions or inaccurate temperature control. It’s a simple step that can prevent a multitude of problems.
Regular Professional Check-ups
Having a professional HVAC technician look at your smart thermostat and overall heating and cooling system can help catch issues before they become major problems. This is especially recommended if you notice your HVAC system cycling too frequently or other odd behaviors.
Maintaining your smart thermostat doesn’t require much, but a little attention goes a long way. Regular check-ups, updates, and a bit of cleaning can keep your smart home running smoothly, ensuring comfort and efficiency year-round. Remember, a well-maintained smart thermostat not only saves money on energy bills but also extends the lifespan of your home’s heating and cooling systems. Happy tweaking!

What are the main benefits of using a smart thermostat?
Smart thermostats offer several advantages that enhance both comfort and efficiency in your home. Firstly, they allow for automatic temperature adjustments based on your schedule and preferences, leading to energy savings and reduced utility bills. Additionally, they can be controlled remotely via smartphones, which means you can adjust your home’s temperature from anywhere. Many models also provide energy usage reports, helping you understand and optimize your consumption.
How do I check if a smart thermostat is compatible with my home system?
To ensure compatibility, start by checking the type of heating and cooling system you have, as some smart thermostats may not work with certain systems like high-voltage or direct line systems. It’s also essential to examine your current thermostat’s wiring; most smart thermostats require a C-wire to operate. If you’re unsure, consulting with a professional from BuildNet can provide clarity and help you choose the right model for your home.
What tools will I need to install a smart thermostat?
The installation of a smart thermostat generally requires some basic tools:
- Screwdriver
- Level
- Drill (optional, for mounting on some types of walls)
- Wire strippers (if new wiring is needed)
Most smart thermostats come with necessary mounting hardware and detailed instructions to guide you through the process.
Can you walk me through the basic steps of installing a smart thermostat?
While specific steps can vary by model, here is a general guide to installing a smart thermostat:
- Turn off the power to your heating and cooling system to ensure safety.
- Remove your old thermostat, taking care to note where each wire connects.
- Install the new thermostat base using the included screws, ensuring it’s level.
- Connect the wires to the corresponding terminals on the new thermostat.
- Attach the faceplate of the smart thermostat.
- Turn the power back on and follow the setup instructions provided by the manufacturer.
How do I configure my smart thermostat with my mobile device?
Configuring your smart thermostat involves downloading the manufacturer’s app on your mobile device and following the setup instructions. This typically includes connecting the thermostat to your Wi-Fi network and pairing it with the app. Once paired, you can set schedules, adjust settings, and even control your thermostat remotely.
What are some common issues that might arise after installing a smart thermostat?
Some users may experience connectivity issues, such as the thermostat not connecting to Wi-Fi, or compatibility problems with their HVAC system. Incorrect installation or wiring errors are also common. If you encounter these issues, double-check your installation and wiring. If the problem persists, contacting a BuildNet contractor for professional help is advisable.
Could you share some tips for maintaining my smart thermostat to ensure it operates efficiently?
To keep your smart thermostat running smoothly, regularly check and clean its sensors and screen to ensure accurate readings and responsiveness. Also, keep the software updated to take advantage of the latest features and security updates. Regularly reviewing and adjusting your heating and cooling schedules can also help maintain efficiency and save on energy costs.
Conclusion
In the dynamic world of smart home technology, upgrading to a smart thermostat is a savvy move that boosts your home’s comfort and energy efficiency. Whether you’re tech-savvy or new to smart devices, installing and maintaining a smart thermostat is made easier with these guidelines. Remember, while DIY installation is possible, don’t hesitate to reach out for professional help to ensure the best setup. If you need assistance or a free quote, our trusted contractors at BuildNet are just a call away. They’re equipped with the expertise to seamlessly integrate smart technology into your home. Visit the BuildNet website today and get connected with the right professionals for your home improvement needs. Enhance your living experience with a smart thermostat and enjoy precision comfort control right at your fingertips!


