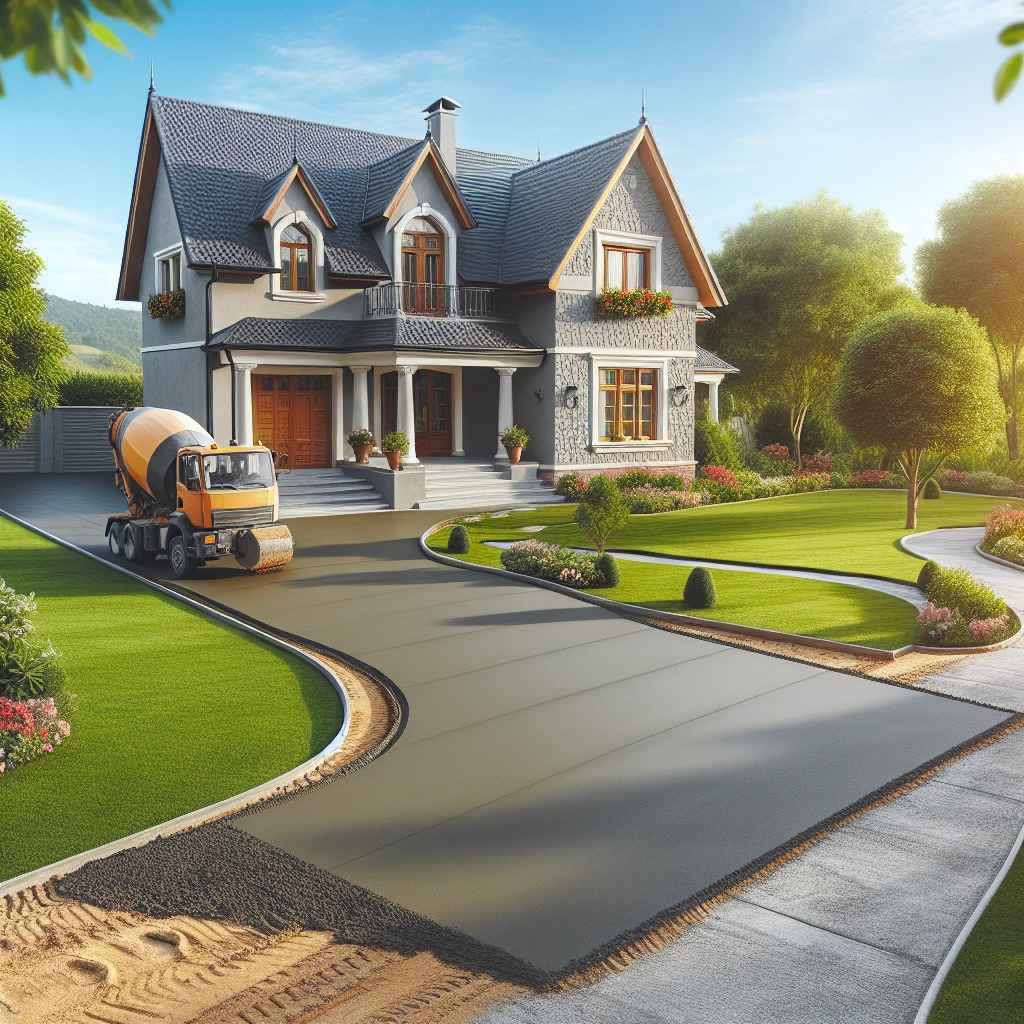
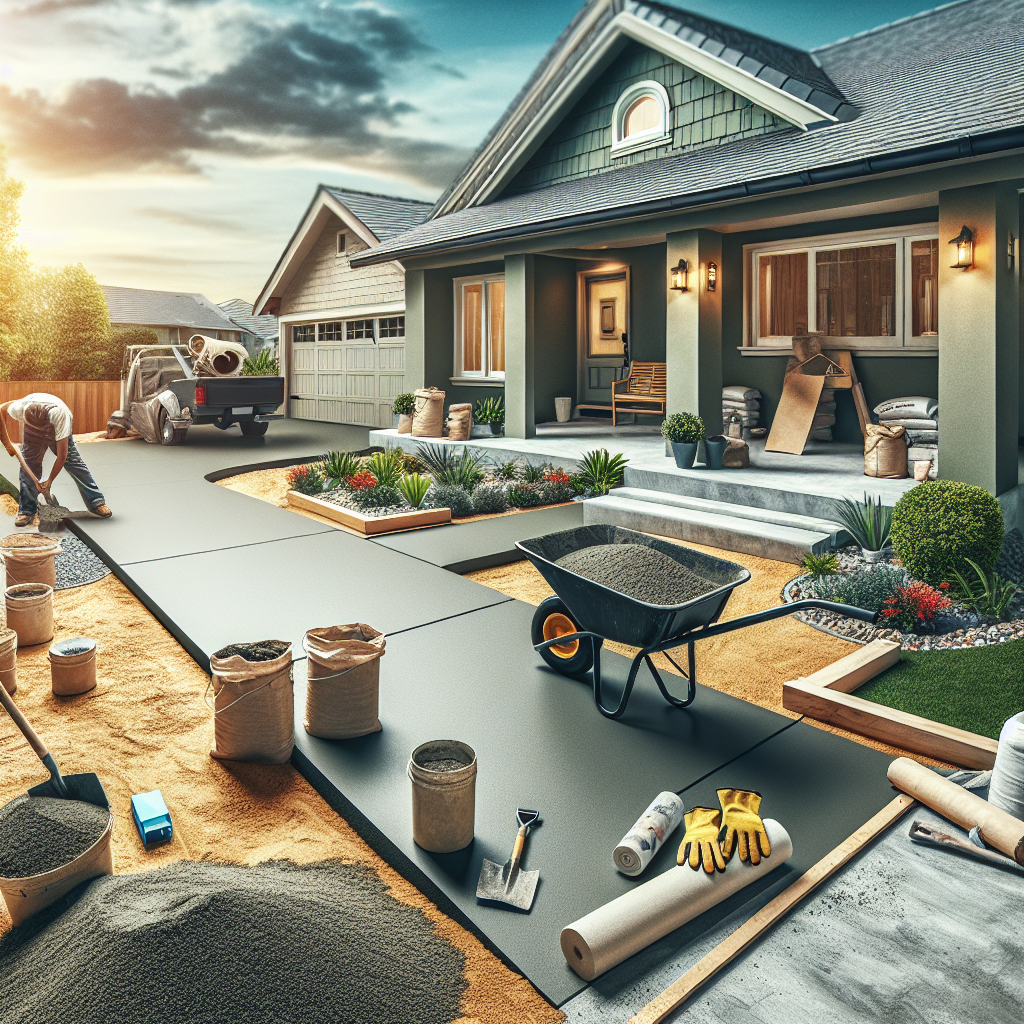
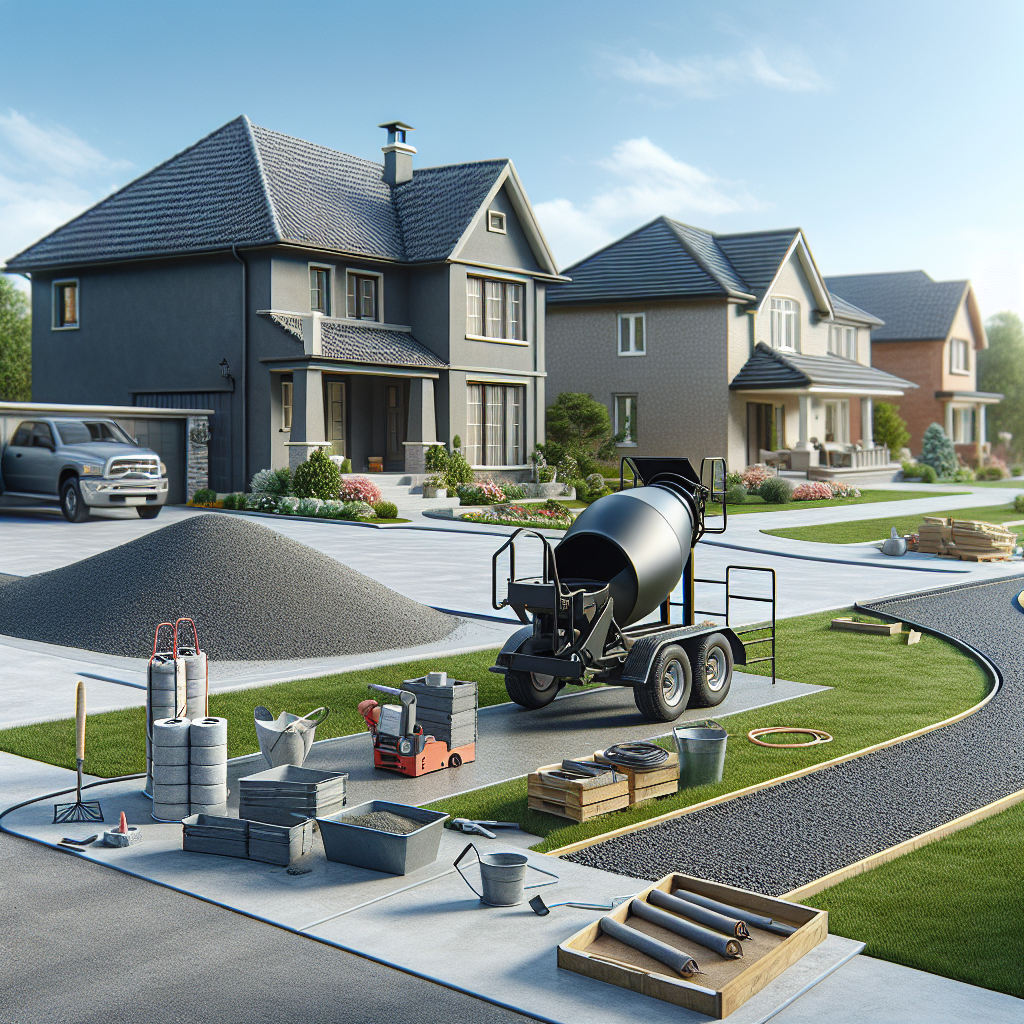
When it comes to enhancing the curb appeal of your home, selecting the right material for your new driveway is crucial. Not only does it need to be durable and cost-effective, but it should also complement your home’s exterior. In this comprehensive guide, we will walk you through the best materials for driveways, provide a detailed step-by-step installation guide, and offer a thorough cost analysis with maintenance tips to ensure your driveway stands the test of time. Whether you’re considering concrete, asphalt, gravel, or pavers, BuildNet has the expertise to help you make the best choice for your home.
1. Choosing the Right Material for Your New Driveway
Choosing the appropriate material for your driveway involves considering several factors such as durability, maintenance, climate conditions, and aesthetics. Each material offers different benefits and comes with specific maintenance requirements. We’ll explore the pros and cons of the most popular driveway materials to help you make an informed decision.
2. Step-by-Step Guide to Driveway Installation
Installing a driveway can be a significant undertaking. This section will provide a comprehensive, step-by-step guide on how to properly install your chosen driveway material. From the initial groundwork to the final touches, we’ll ensure you have all the information needed to achieve a professional-looking result or to better understand the process when hiring professionals.
3. Cost Analysis and Maintenance Tips for Long-Lasting Driveways
Understanding the costs involved in driveway installation and maintenance is vital for budgeting purposes. We’ll break down the costs associated with various materials and installation processes. Additionally, you’ll receive practical maintenance tips to extend the lifespan of your driveway, saving you money and hassle in the long run.
At BuildNet, our goal is to make your next home improvement project a breeze. Stay tuned as we delve deeper into each of these topics, ensuring you’re well-equipped to make the best decisions for your driveway needs.

If you’re ready to take your home improvement or construction project to the next level, we can help! Find trusted contractors on BuildNet, whether you’re looking for renovations, new builds, electrical work, plumbing, or anything in between. Our directory connects you with qualified professionals who can make your vision a reality.
Choosing the Right Material for Your New Driveway
Hey there! Ready to give your home a major curb appeal boost with a new driveway? Whether you’re building from scratch or upgrading an old, cracked driveway, picking the right material is crucial. Not only does it affect the look of your property, but it also impacts durability, maintenance, and of course, your budget. Let’s dive into the options available and find the best fit for your home!
Concrete Driveways: The All-Around Champion
Concrete is often the go-to choice for many homeowners, and for good reason. It’s durable, long-lasting, and offers a sleek, clean look that can complement any home style. Pros of concrete driveways include their relatively low maintenance and the ability to withstand heavy loads. On the flip side, they can be pricey and might not perform well in extremely cold climates where frequent freezing and thawing occur, leading to cracking.
Asphalt Driveways: Smooth and Economical
If you’re looking for a budget-friendly option that still looks great and performs well, asphalt could be the way to go. Asphalt driveways are known for their smooth finish and black color, which helps in melting snow faster during the winters. They’re also relatively easy to install. However, asphalt requires more maintenance than concrete, including seal coating every few years to maintain its integrity and appearance.
Gravel Driveways: Rustic and Versatile
Gravel is a fantastic option if you’re aiming for a more rustic look or if your property is on a larger plot of land. It’s the most budget-friendly of all driveway materials and is incredibly easy to install. Plus, it offers excellent drainage. The downside? Gravel shifts over time and will require occasional topping up and raking to keep it looking neat and functional.
Paver Driveways: Durable and Decorative
Pavers—be it brick, cobblestone, or concrete—offer a durability that can rival concrete and an aesthetic charm that beats just about every other material. They come in various colors and styles, allowing for customized designs that can make your driveway a standout feature. Although pavers are more expensive upfront and can be labor-intensive to install, they are easy to repair by replacing individual pavers as needed without redoing the entire driveway.
Resin-Bound Driveways: Sleek and Sustainable
For those looking at eco-friendly options, resin-bound driveways are worth considering. They are made from a mixture of aggregate stones and resin, providing a smooth, permeable surface that allows water to drain through, reducing runoff and pollution. This type of driveway is also durable and resistant to weeds. While resin-bound surfaces are on the pricier side, their longevity and low maintenance requirements can make them a cost-effective option in the long run.
Factors to Consider When Choosing Your Driveway Material
Climate
The weather in your area plays a significant role in deciding the material. For instance, concrete might not be the best choice for areas with severe freeze-thaw cycles, whereas asphalt might be perfect for colder regions due to its capacity to retain heat.
Budget
Consider how much you are willing to spend not just on the installation but also on long-term maintenance. Gravel might be cheap to install, but it could cost more over time with regular top-ups and leveling.
Usage
Think about the load and traffic your driveway will endure. Commercial vehicles, frequent use, and heavy machinery require more robust materials like concrete or pavers.
Aesthetics
Your driveway can either complement your home’s aesthetic or become a standout feature. Choose a material that aligns with the style you want to achieve.
Maintenance
Some materials require more upkeep than others. If you’re not keen on regular maintenance, choosing a low-care option like resin-bound or concrete may be the way to go.
Picking the right driveway material not only boosts your home’s curb appeal but also adds to its value. By considering the factors above and choosing wisely, your driveway can be both a functional and attractive aspect of your home. Happy building!

Step-by-Step Guide to Driveway Installation
Hey there! Are you looking into giving your home a facelift with a brand-new driveway? Well, you’ve landed in the right place! Installing a driveway can seem daunting, but with a bit of know-how and elbow grease, you can lay down a solid foundation that not only boosts curb appeal but also adds value to your property. Let’s walk through the process together, step-by-step, so you can get your driveway project rolling with confidence.
Step 1: Planning and Preparation
Before any concrete pours or paving starts, the key to a successful driveway installation is in the planning. First, consider the size and shape of your driveway. Measure the area to calculate how much material you’ll need. Don’t forget about local zoning laws and building codes; make sure your plans are in compliance to avoid any legal headaches later.
- Choose the right contractor: Look for local contractors with good reviews and solid experience. A reputable contractor can make or break your project.
- Get the necessary permits: Check with your local building authority to secure any necessary permits. This is crucial as skipping this step can lead to fines and forced changes to your project.
Step 2: Ground and Foundation Work
The durability of your driveway heavily depends on the quality of its foundation. Here’s how to ensure your foundation will stand the test of time:
- Clear the site: Remove any grass, roots, and debris. Ensure the area is level to prevent water pooling.
- Subgrade preparation: Compact the soil thoroughly. A stable subgrade prevents the driveway from shifting and cracking.
- Add base materials: Lay down a sub-base layer of gravel or crushed stone. This layer should also be compacted and leveled.
Consider hiring a professional for this part of the job, especially if you encounter large rocks or have soil that is difficult to compact.
Step 3: Choosing Your Materials
Whether you opt for asphalt, concrete, pavers, or gravel, each material has its pros and cons. Your local climate and the amount of traffic your driveway will bear should influence your decision. If you’re unsure, your contractor can help guide you to the right choice based on durability, maintenance, and aesthetic appeal.
Step 4: Installation
Now for the fun part! Depending on the material you chose, the installation process will vary:
- Asphalt: It needs to be laid quickly while it’s still hot, and then compacted with a rolling machine.
- Concrete: It’s poured into forms, leveled with a screed, and then finished with a float to create a smooth surface.
- Pavers: Each paver is laid by hand, closely butted together, and then sand is swept over the surface to fill the joints.
- Gravel: Simply spread evenly over the driveway area and then compacted.
During installation, keep an eye on the weather. Most paving materials require dry conditions for best results.
Step 5: Curing and Sealing
Patience is a virtue, especially when it comes to driveway installation. Allow your new driveway to cure properly to ensure maximum strength and longevity:
- Concrete: Takes about a week to cure; avoid any use during this time.
- Asphalt: Typically takes a couple of days to cure. Keep off it as much as possible.
- Pavers and Gravel: Are usable immediately, but be gentle in the beginning.
Sealing is the final step, especially for asphalt and concrete driveways. It protects your driveway from moisture, oils, and UV damage. Sealant should generally be applied every two to three years, depending on the material and your local climate conditions.
Step 6: Maintenance
Finally, let’s talk about keeping your driveway in top shape. Regular maintenance extends the life of your driveway and keeps it looking great. Here’s how:
- Regular cleaning: Keep your driveway free of debris and spills to prevent stains and deterioration.
- Repair cracks: Fix any small cracks or holes as soon as possible to prevent them from expanding.
- Resealing: As mentioned, reseal your driveway every few years to maintain its resistance to elements.
By following these steps, your driveway installation should be a breeze! Remember, a well-installed driveway not only enhances the visual appeal of your home but also functions efficiently for years to come. Happy paving!
Cost Analysis and Maintenance Tips for Long-Lasting Driveways
Hey there! Planning to give your home’s curb appeal a boost with a new driveway? Smart move! But, just like any home improvement project, it’s crucial to consider both the initial costs and the long-term maintenance. Let’s dive into some essential cost analysis and maintenance tips to ensure your driveway not only looks fantastic but also stands the test of time without breaking the bank.
Understanding Driveway Costs
First things first, laying down the financial groundwork is key. Driveway costs can vary widely depending on several factors:
- Material Choices: Are you going for concrete, asphalt, gravel, or perhaps interlocking pavers? Each has its own price tag and aesthetic appeal.
- Size and Layout: A sprawling, curvy driveway will cost more than a straight, modestly-sized one.
- Preparation Needs: Costs can escalate if there’s a lot of prep work needed, like removing trees or leveling the ground.
For a ballpark figure, asphalt driveways might run you about $3 to $5 per square foot, while concrete can be anywhere from $5 to $10 per square foot. Fancy something a bit more decorative? Pavers and natural stone could push your budget to $10 to $50 per square foot. Remember, these are just estimates—getting quotes from local contractors will provide a clearer picture.
Annual Maintenance Costs
Don’t forget about the ongoing care your driveway will need. Here’s what you might expect to spend annually:
- Asphalt: Sealcoating every two to three years can cost around $200 to $600, depending on driveway size.
- Concrete: Occasional sealing or degreasing might set you back $100 to $300.
- Gravel: Top-up gravel and weed management can cost about $100 to $200 each year.
- Pavers: Sand refilling and joint stabilization are maintenance musts, generally costing $100 to $300 annually.
While these expenses might seem like a bit of a pinch, they’re crucial for preventing more costly repairs down the line.
Maintenance Tips for Durability
Want to stretch those dollars even further? Here are some pro tips to keep your driveway in top shape for years:
Regular Cleaning
A clean driveway isn’t just about aesthetics—it prevents long-term damage. Hose down and sweep your driveway regularly to remove debris. For concrete and pavers, consider a pressure washer for a deeper clean.
Immediate Repair of Small Damages
Cracks and holes can turn into big problems if ignored. For asphalt, patching up small cracks with a high-quality filler can prevent major repairs. Concrete driveways might need a crack sealant that’s a bit more robust.
Proper Drainage
Water is a driveway’s worst enemy, leading to cracks, potholes, and heaves. Ensure your driveway has adequate drainage to divert water away from the surface. This might involve installing drainage grates or adjusting the slope of the terrain.
Sealcoating and Protection
Applying a sealant every few years can dramatically extend the life of asphalt and concrete driveways by protecting them from UV rays, oil spills, and water penetration.
Choosing the Right Contractor
Finding a reputable contractor is as crucial as choosing the right material. Look for local businesses with solid reviews, proper licensing, and insurance. Personal referrals are always a good way to go, but online directories and reviews can also be invaluable.
In summary, while the upfront cost of a driveway might seem steep, investing in the right materials and regular maintenance can save you a lot of money and hassle in the long run. Regular upkeep not only extends the life of your driveway but also boosts your home’s overall value—a win-win in the world of home improvements!

FAQs on Choosing and Installing a New Driveway
What are the best materials for driveway construction?
Choosing the right material for your driveway depends on your budget, climate, and aesthetic preferences. Common materials include concrete, asphalt, gravel, and pavers. Each has its advantages and disadvantages, such as durability, maintenance needs, and installation costs.
How long does it typically take to install a new driveway?
The installation time can vary based on the size of the driveway and the material used. Typically, concrete and asphalt driveways can take a few days to install and require several days more to cure properly. Gravel driveways can often be completed in a single day.
What should I consider before installing a new driveway?
Consider the local climate, the slope of your land, drainage issues, and the weight of the vehicles that will use the driveway. It’s also crucial to check local building codes and obtain any necessary permits.
What is the cost range for new driveway installations?
Costs can vary widely based on the material, size, and region. Gravel is typically the least expensive option, while pavers are on the higher end. Concrete and asphalt fall somewhere in between but offer different benefits in terms of longevity and maintenance.
How can I maintain my driveway to ensure it lasts as long as possible?
Maintenance varies by material. Asphalt might need periodic sealing, concrete may require crack repairs, and gravel could need regular evening out. Regular cleaning and immediate repair of any small damages are crucial across all materials.
Are there environmentally friendly options for driveway materials?
Yes, permeable pavers and certain types of gravel are eco-friendly options that allow for better water drainage and less runoff. Recycled materials are also available for those looking for greener alternatives.
Can I install a new driveway on my own, or should I hire a professional?
While DIY projects can be tempting, professional installation ensures that the job is done correctly and safely. Professionals can also help navigate local building codes and potential underground utilities, which can be especially important in urban or densely populated areas.
Conclusion
Choosing and installing a new driveway is a significant home improvement project that can enhance your property’s curb appeal and functionality. With various materials available, each offering different benefits and challenges, it’s essential to carefully consider your needs, budget, and long-term maintenance commitment. Remember, the right preparation and professional help can ensure that your driveway installation is successful and durable.
Whether you’re considering a sleek, modern concrete driveway, a traditional gravel path, or an eco-friendly permeable solution, it’s smart to consult with an expert. At BuildNet, we’re here to connect you with reliable local contractors who can provide personalized advice and free quotes tailored to your project’s specifics. Don’t hesitate to reach out through our website to get started on your new driveway today!


